25+ Travel Trailer Must-Haves to Get on the Road Now
As an Amazon Associate, we earn from qualifying purchases. We also earn from other affiliate websites. See our full disclaimer.
Whether you’re a seasoned RV veteran or a new RV owner, you should have some travel trailer must-haves before heading out on a road trip.
If you’re not prepared, you could face a slew of different problems on your RV camping adventure.
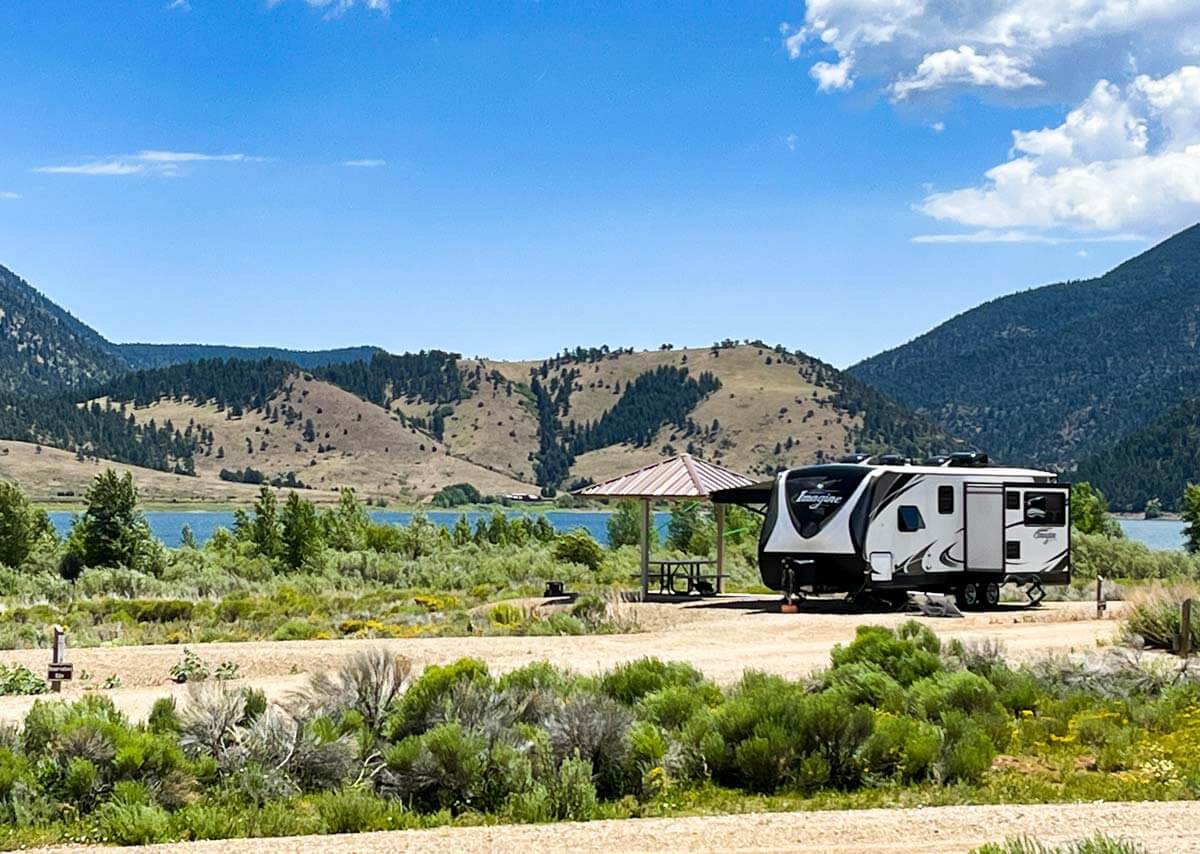
With over three years of RV living experience, I can attest that the appropriate travel trailer accessories can guarantee a seamless, comfortable, and secure RV trip, including items for:
- dumping your RV tanks
- leveling your rig
- getting power safely
- getting clean, fresh water
If this is your first RV, let this list of items for your camper serve as a checklist of the essentials you’ll need. It will give you everything required to maintain your RV travel trailer and handle almost any issue that arises while you’re on the road.
RV Dump & Sewer Essentials
Before your first time out in your travel trailer, you’ll need a few RV sewer essentials to empty and maintain your grey and black tanks.
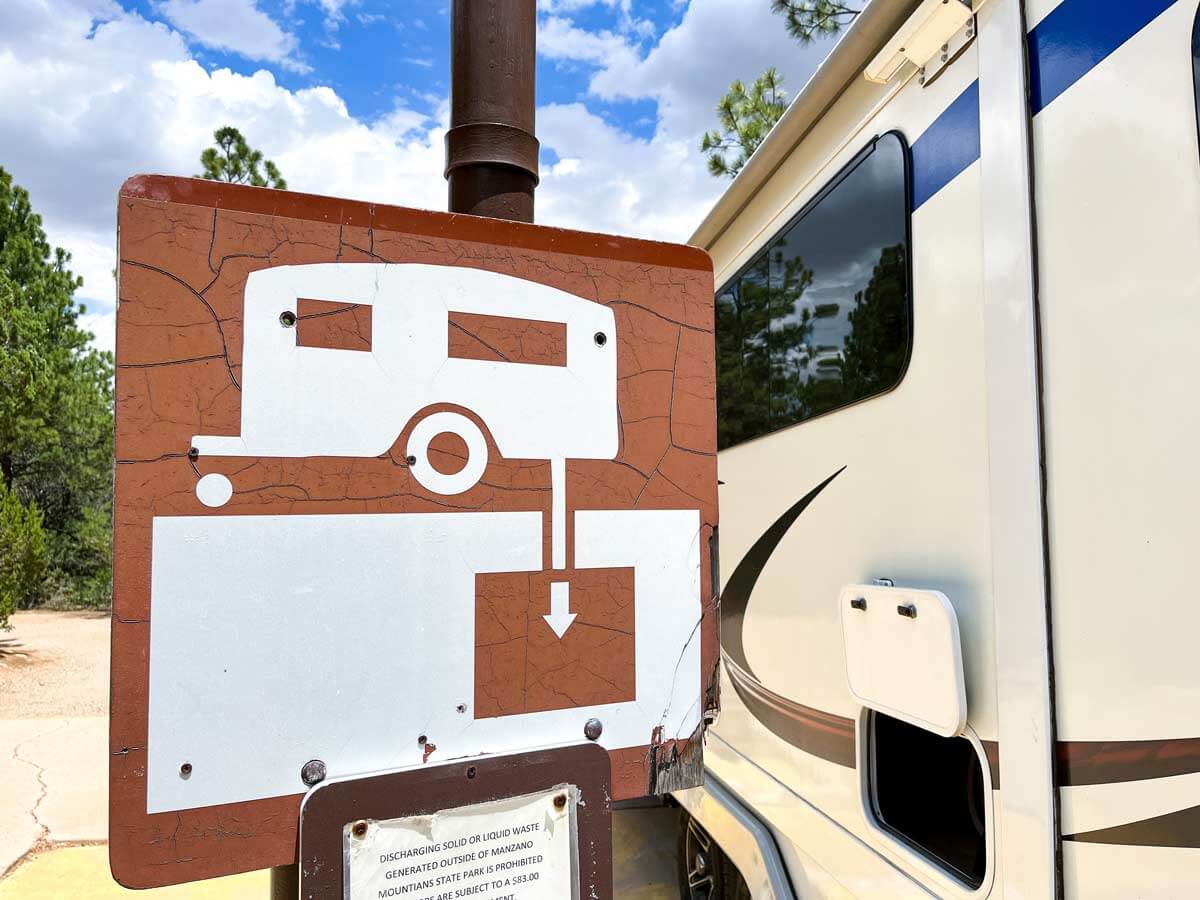
Items #1 – 6 below are the RV must-haves for your holding tanks and the answers to why you need these essentials.
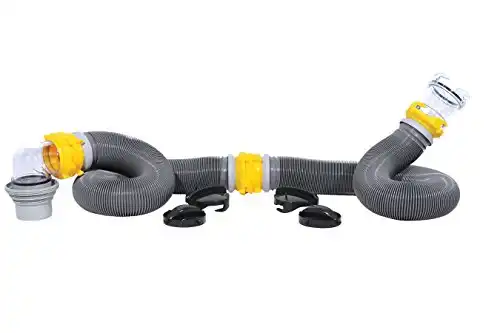
1. RV Sewer Hoses & Kit
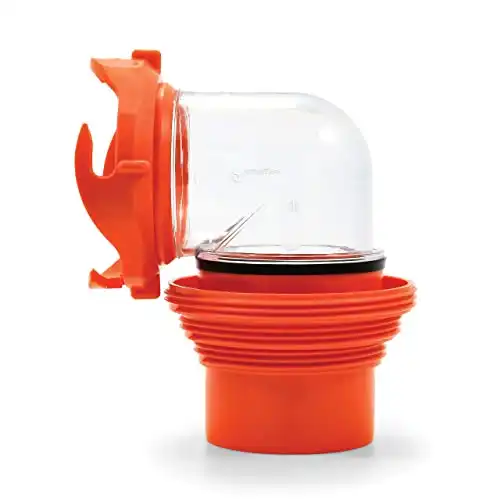
A 10-foot RV sewer hose is a requirement for dumping your black water tank. You’ll also need a transparent 90-degree elbow adapter to see when the water from the tank is running clear after rinsing.
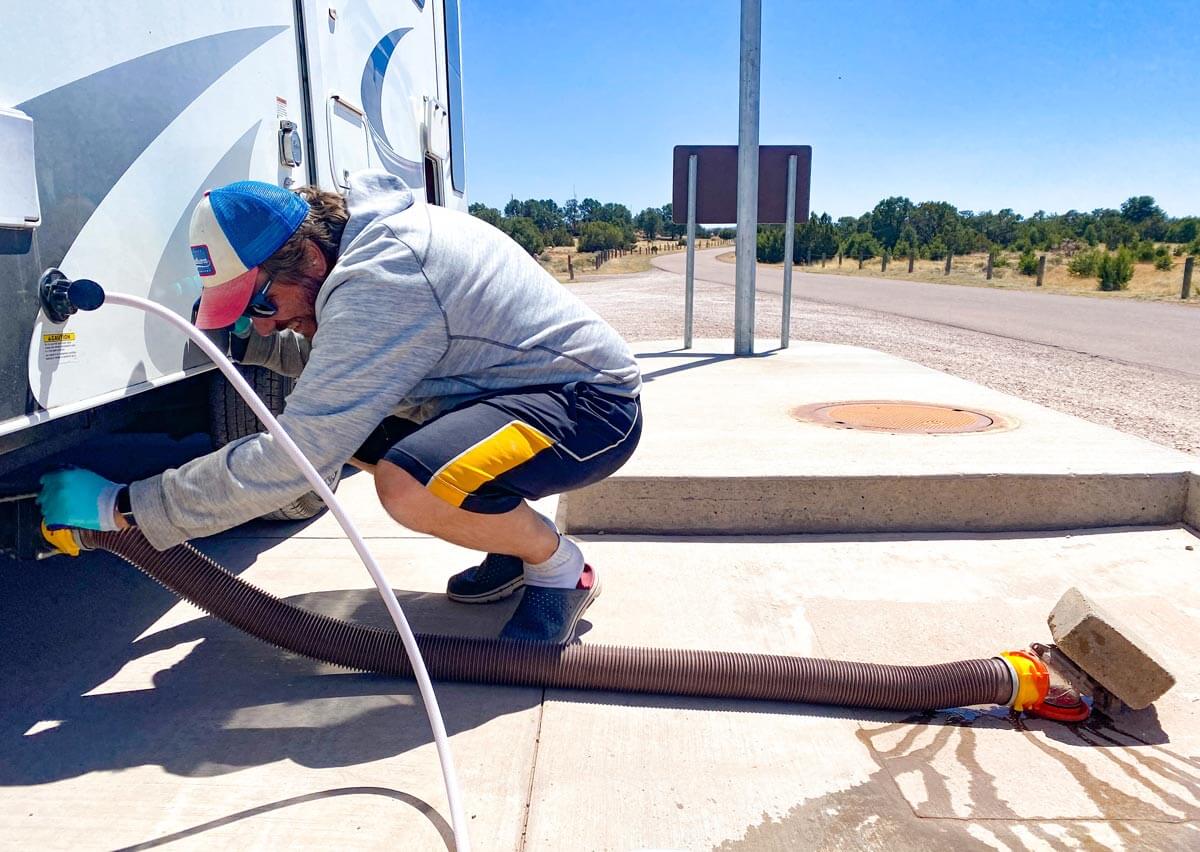
We carry two 10-foot sewer hoses but most often only need one to reach the sewer connection.
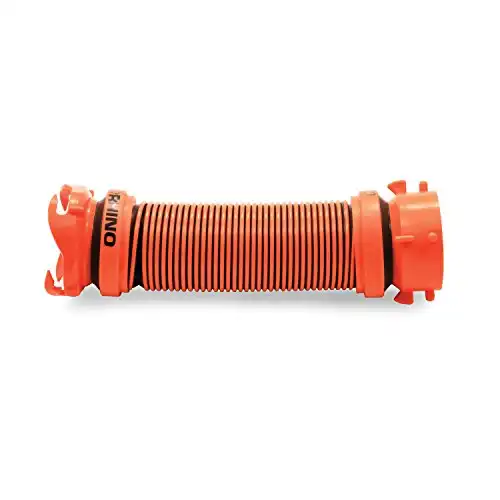
PRO TIP: When we’re further from the sewer connection, we use a small 2-foot sewer hose (shown above) combined with the 10-foot hose to get more length without needing another long hose. This makes the dump station process easier to manage.
2. RV Sidewinder
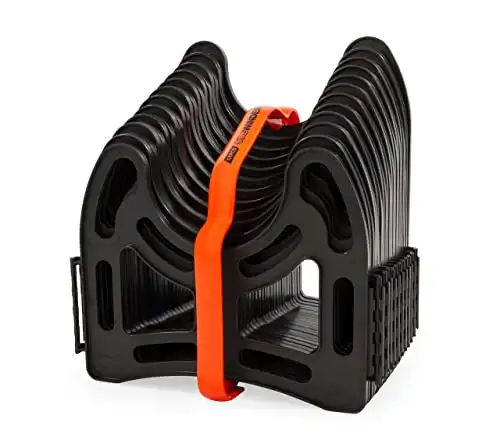
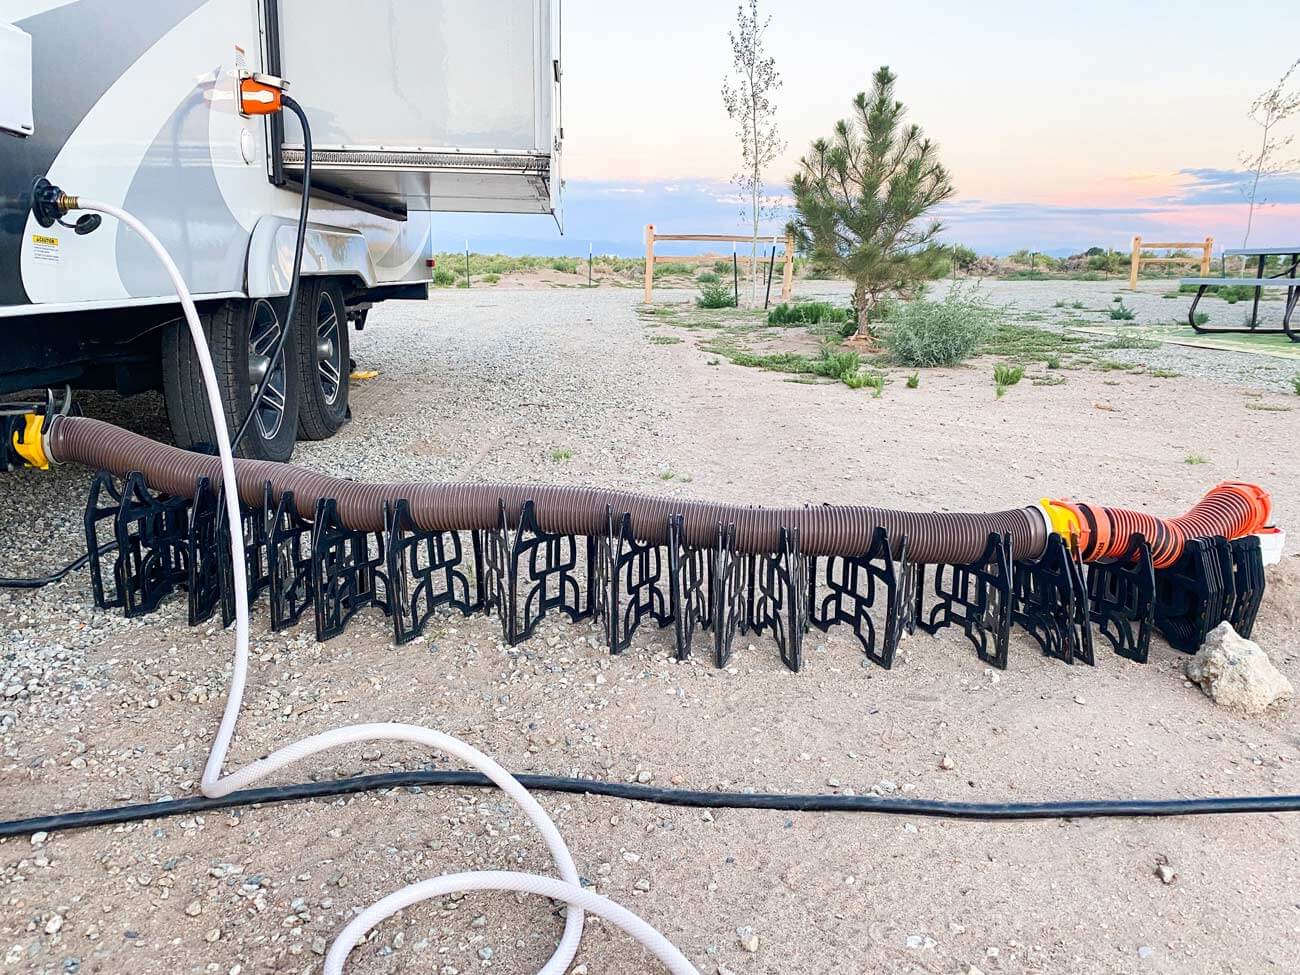
An RV hose support, also known as a ‘sidewinder,’ will allow you to set up your sewer hose to run downhill and keep everything moving in the right direction through your hose.
- Lightweight with a durable frame
- Fits a 10-foot hose
The sidewinder will also keep your sewer hose off the ground, out of the dirt, for a cleaner campsite breakdown.
3. Black Water Rinse Hose
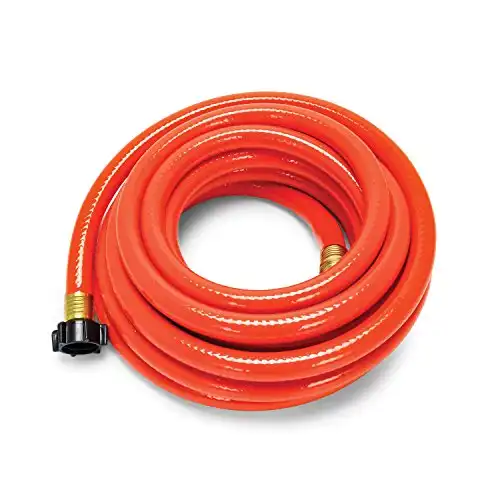
When you finish cleaning your tank, use a black water hose to rinse out your sewer kit and components. If you have a black water flush system, you can also use this hose to rinse the inside of your black water tank.
- 5/8-inch diameter hose
- Heavy-duty design for rinsing black tank and clean sewer hose
You’ll see orange RV hoses that are marketed as black water hoses. These are orange, so you don’t confuse this hose with your other RV hoses (that would be bad).
PRO TIP: We use an old drinking water hose and mark it with colored tape to avoid mixing them up.
4. Waterproof Gloves
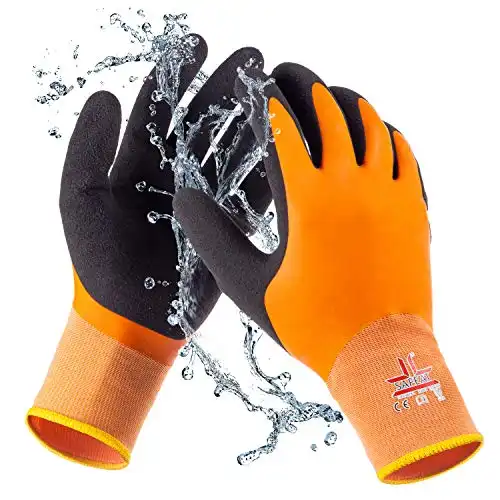
Waterproof gloves protect your hands from contamination when dumping your black water tank and storing your sewer hoses.
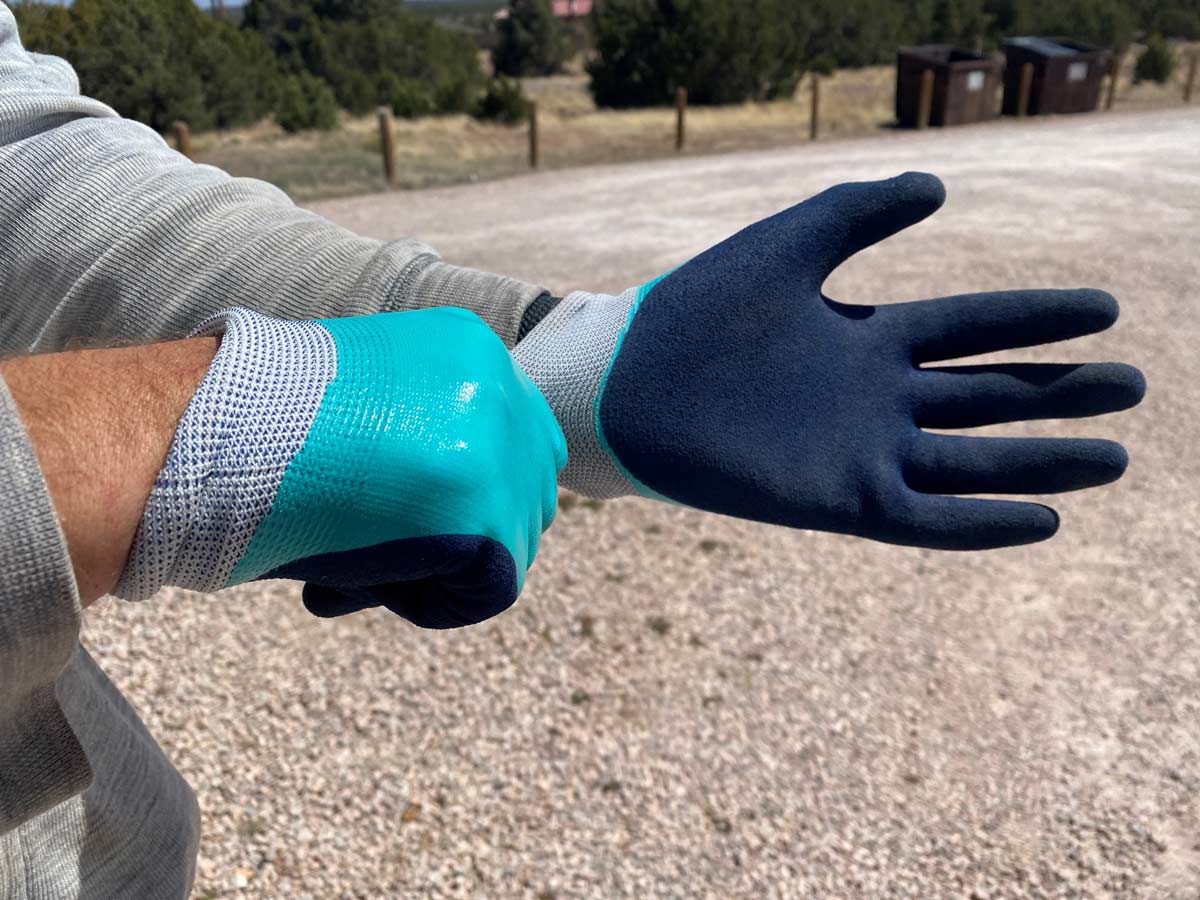
- Flexible, dry work gloves with double-coated latex
- Sandy grip foam
- Available in sizes small to extra-large
We try to be green by using reusable waterproof gloves such as the ones above, but you can also use disposable gloves when dealing with you’re dumping your RV black tank.
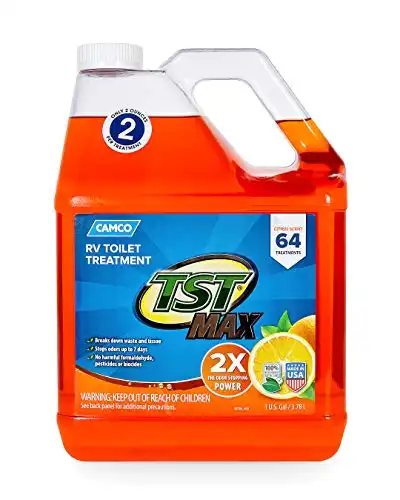
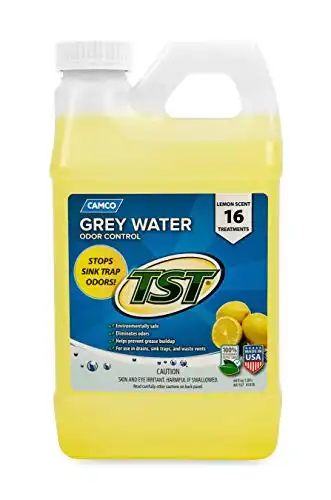
5. Holding Tank Treatment
There are holding tank treatments for both the grey and the black tank. Black tank treatment is a must-have for RVing, while grey tank treatment isn’t always necessary to keep your tank smelling fresh. It’s more of a personal preference.
Here are the tank treatment options we use in our tanks.
There are many different black tank treatments available for RVs. We recommend avoiding enzyme treatments since they can create a “sludge” that coats your tank sensors and renders them useless. There are also treatment options available for making your own!
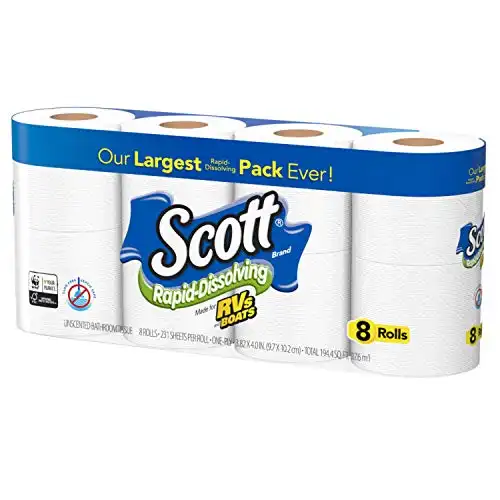
6. RV Toilet Paper
RV toilet paper is designed to break down in your black water tank to avoid clogs and paper covering your sensors.
We use the Scott RV toilet paper brand and have never had clogging issues in our RVs or when we lived on a boat.
- Quick dissolving toilet paper for RVs and boats
- Prevents clogging
You’ll hear a ton of advice from RV owners on which toilet paper to use or whether you should even put toilet paper in your RV tanks. No matter what type you choose, use it sparingly!
PRO TIP: You can also do a ‘shake experiment’ to test your favorite toilet paper brands. Check out this video on how to test your toilet paper.
RV Fresh Water Accessories
Getting water on the road requires a few RV and camper must-haves to ensure you can put clean water into your water tank or run water straight into your RV plumbing system.
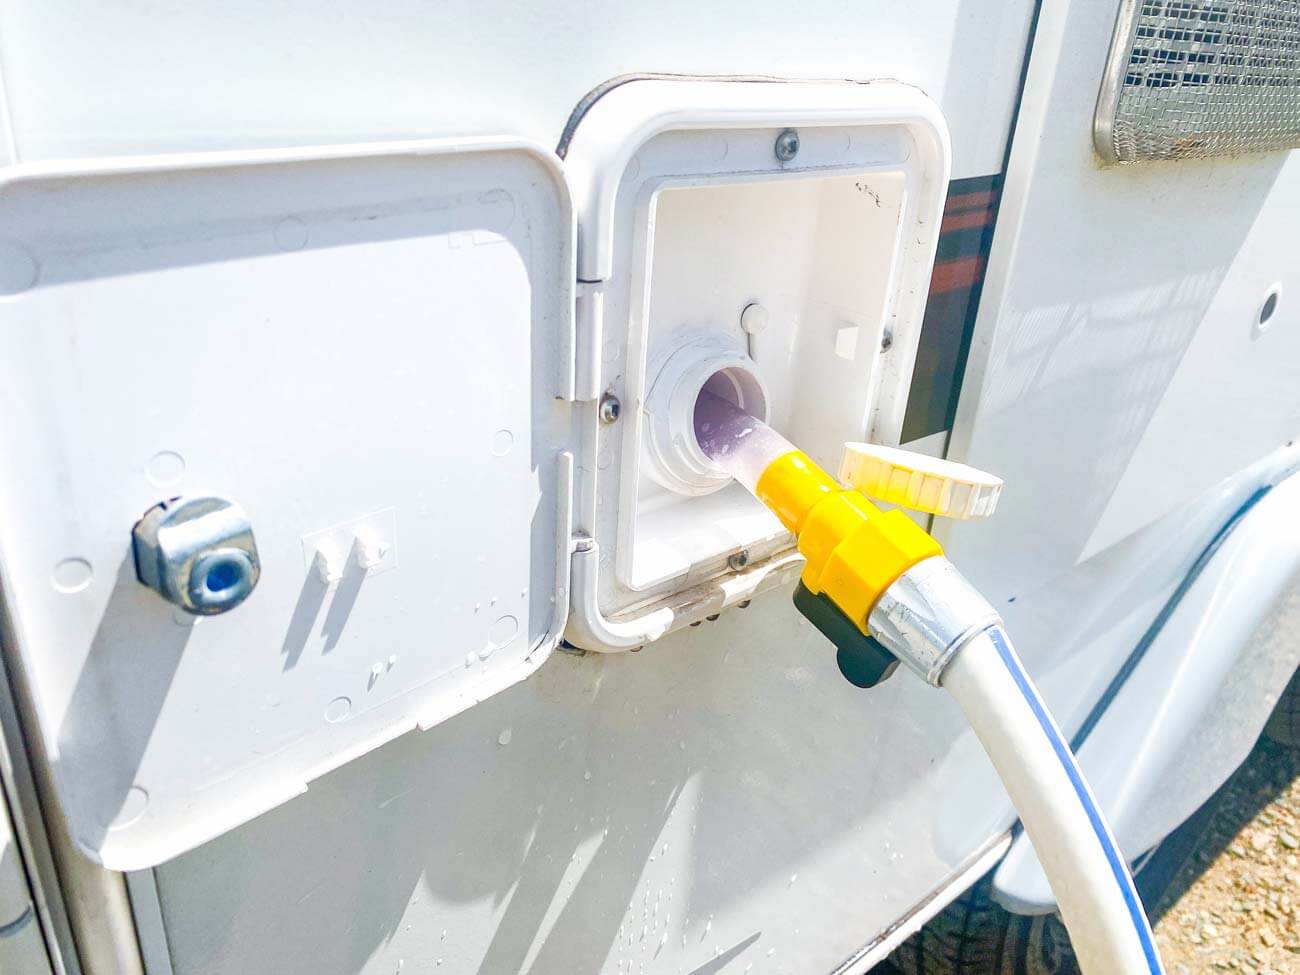
Items #7 – 10 below are RV necessities for fresh water access are below.
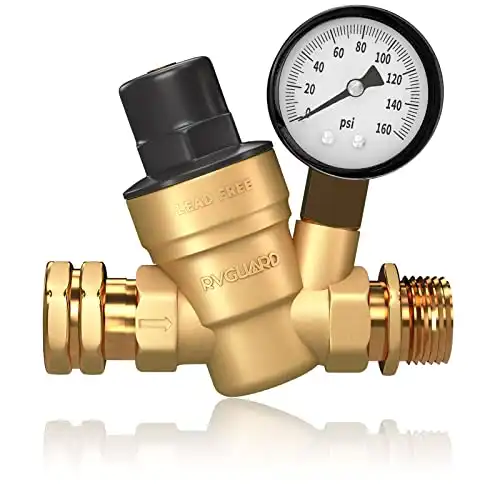
7. Water Pressure Regulator
When connecting to water sources using your city water connection (this is your campground or home water hookup), you want to control the pressure of water flowing into your RV.
RV campgrounds often have water pressure set to a level higher than your RV can handle.
A water pressure regulator will help you prevent stress on your plumbing components and leaks in your RV.
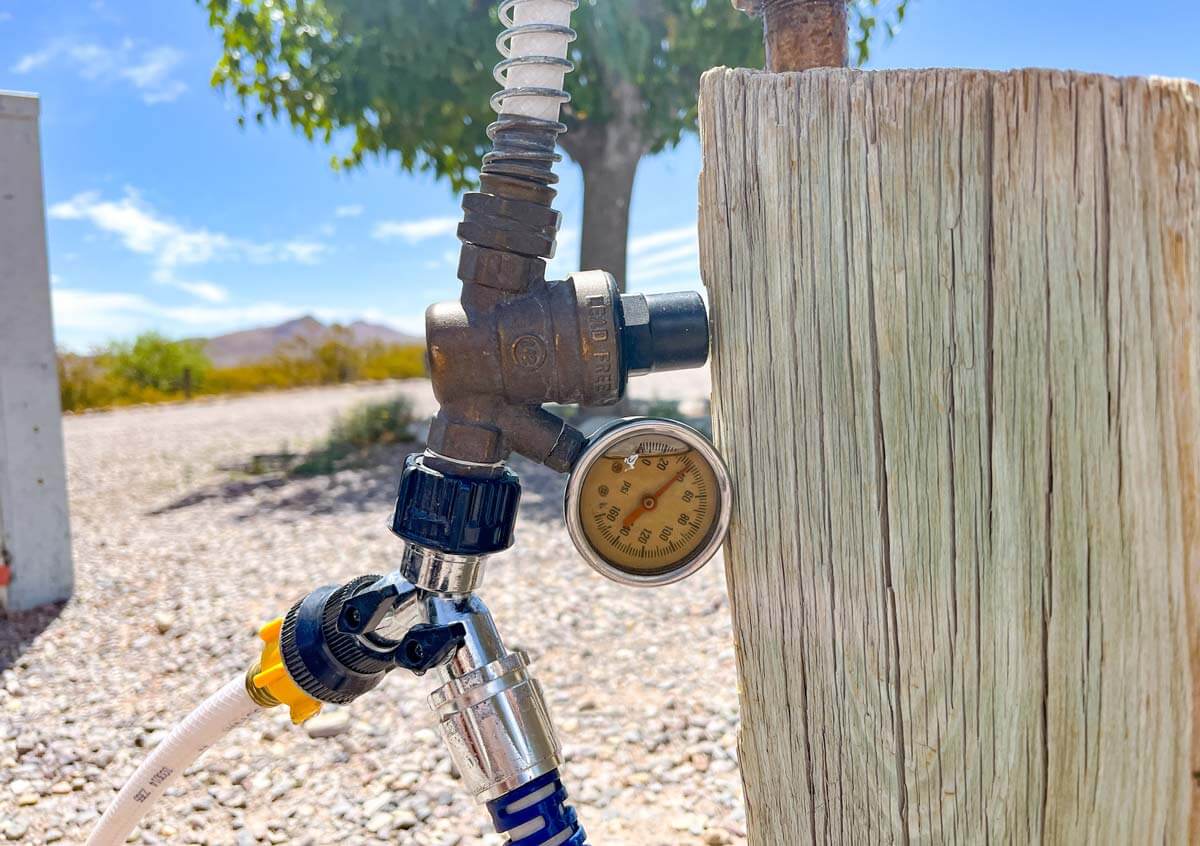
- Adjustable water pressure reducer with gauge
- Lead-free
PRO TIP: Water pressure around 40 PSI will give you good water flow for a shower and at the kitchen sink without causing damage to your RV.
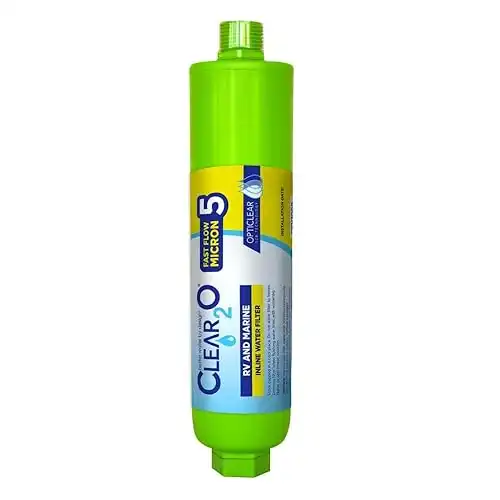
8. Inline Water Filter
An inline water filter is inserted between your water source and your RV water tank or plumbing system.
The filter is essential for eliminating heavy metals, chlorine, odors, and other things you don’t want in your water.
There are many options for RV water filtering, including some pricier systems that new RVers may not be ready to invest in quite yet.
If you’re a beginner RVer, we like the water filter above from Clear2o that filters to five microns. Most of the popular inline filters only filter to around 20 microns.
- Reduces contaminants, bad taste, and odors
- Filters contaminants down to five microns
- No more Chlorine or sediment in your drinking water
The Clear2o will filter out much smaller sediment and is a great, affordable water filter to get you on the road with clean water in your tanks.
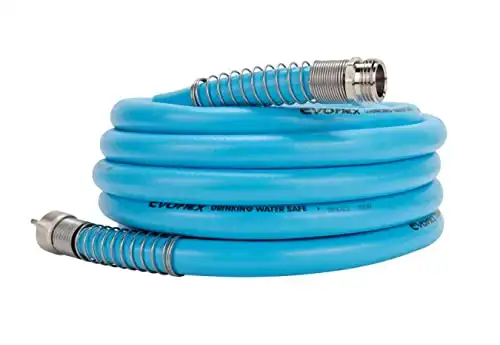
9. RV Fresh Water Hose
Drinking water hoses are made specifically to fill your RV water tank and connect to RV water sources. These water hoses are safe for carrying drinking and other water to your RV. They are BPA, phthalate, and lead-free.
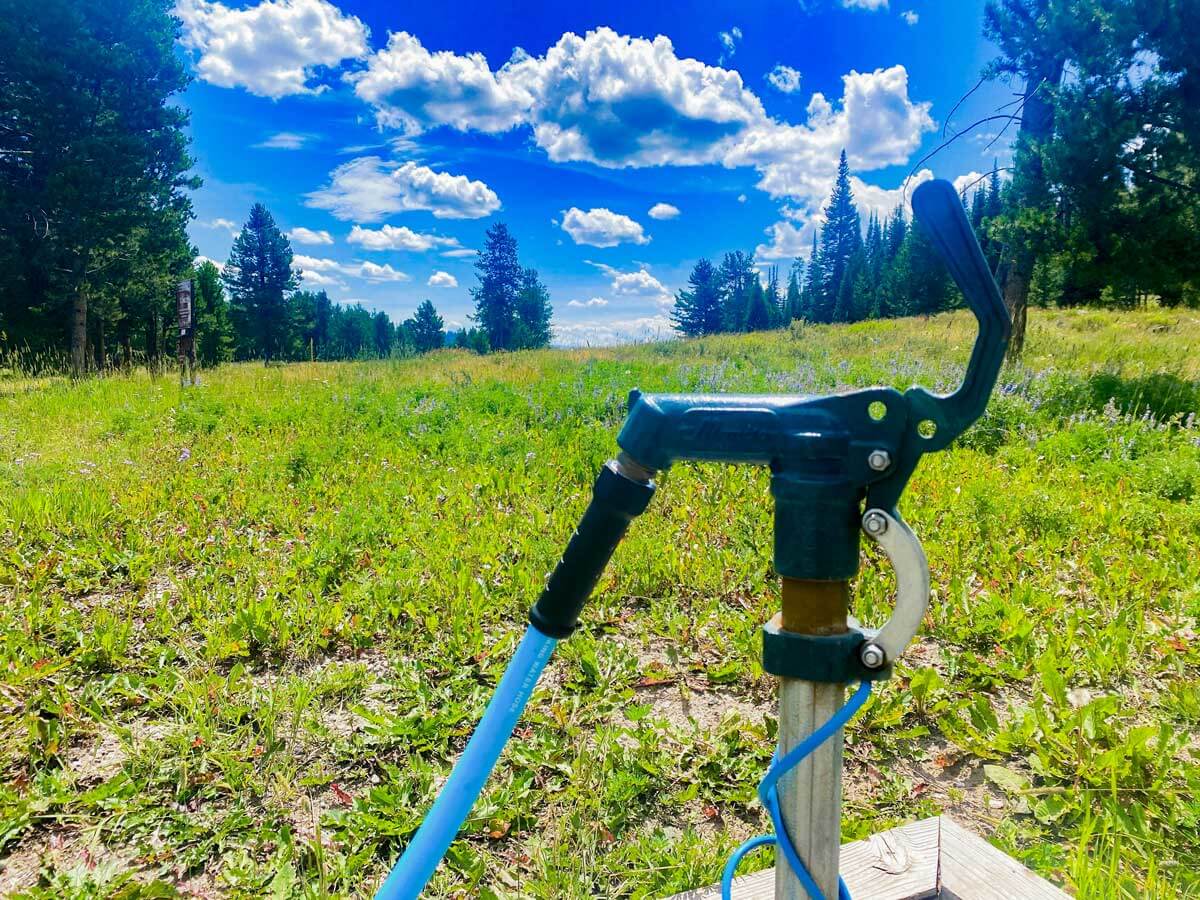
- 25-feet, 5/8-inch diameter
- Super flexible design allows the hose to be easily stored over and over again
- Ideal for drinking water, BPA-free, lead-free, and phthalate-free
PRO TIP: Choose a hose long enough to reach your RV water intake from the water source. For most RV rig sizes, a 20-foot hose is sufficient. We carry a small 10-foot hose for short connections and the rare occasion when the water hookup is inconveniently located.
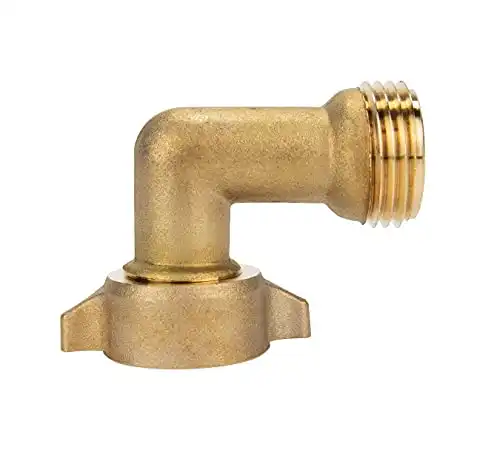
10. 90-Degree Elbow
Lastly, you’ll need a 90-degree elbow to connect to your water intake. The elbow will prevent a bend in your water hose that occurs when you join the water hose directly to your water intake.
- Solid brass 90-degree elbow
- Helps protect your hose by reducing stress and strain
The fitting will prevent wear and damage to your hose or water intake over time.
RV Power Accessories
You’ll need power in your camper when you’re on the road! Getting power to your RV safely and efficiently requires a few more pieces of gear.
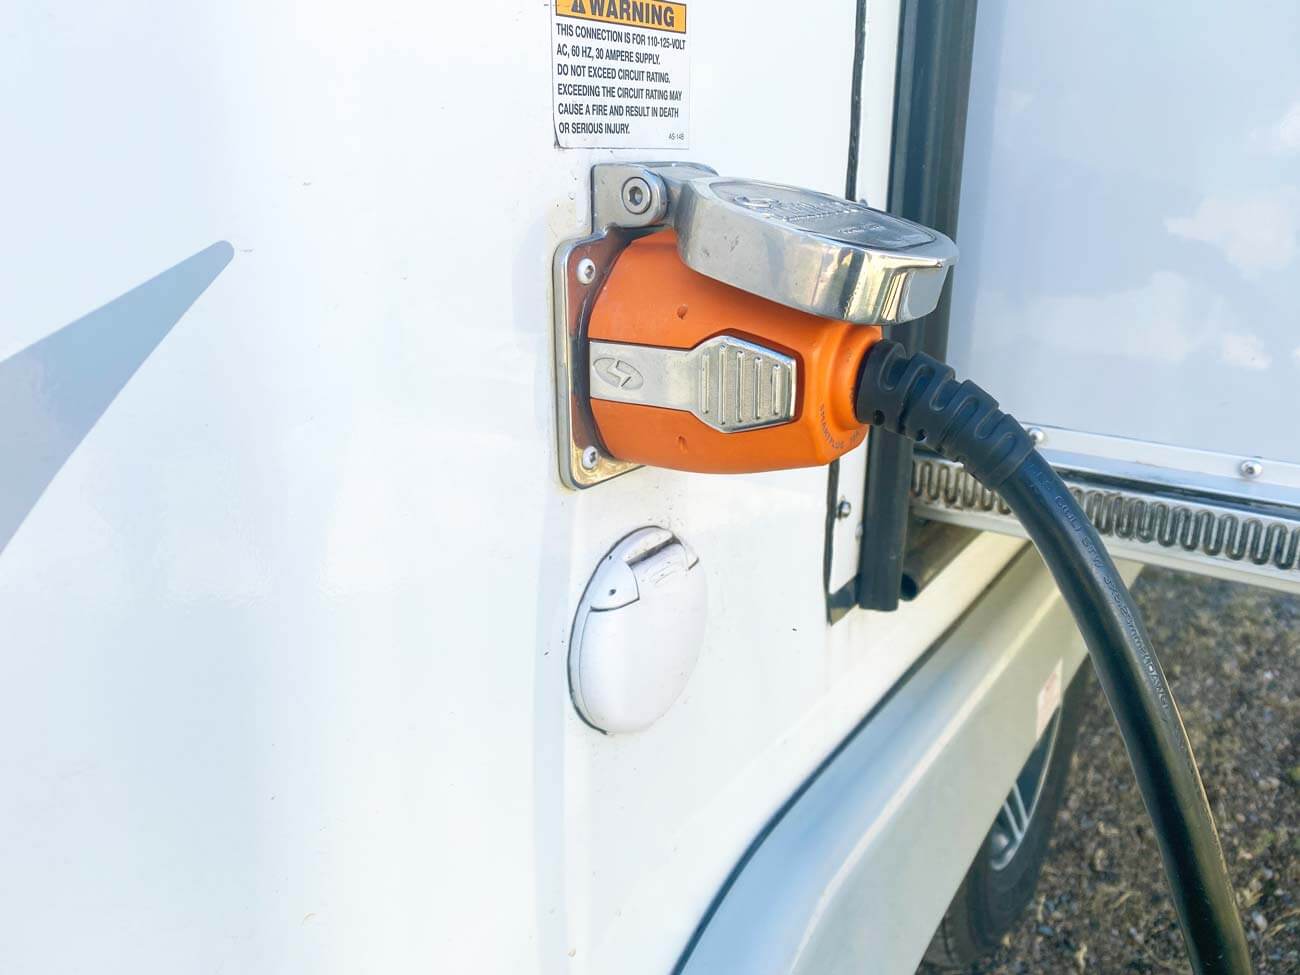
Items #11 – 14 below are essentials related to getting power to your RV and using power inside your RV.
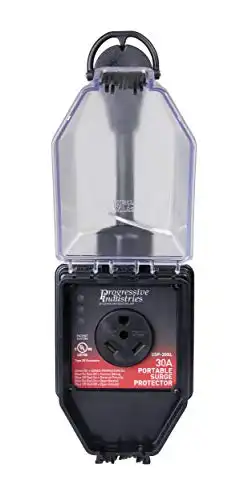
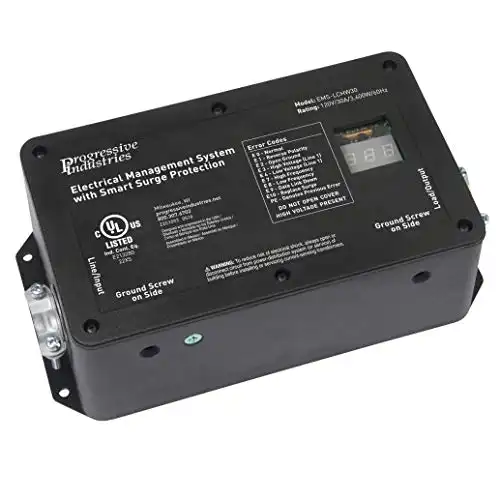
11. Surge Protector
When connecting your RV to power, you won’t always know the quality of the power source.
This must-have RV gadget is the best way to protect your rig and its electronics by preventing damage from electrical power surges.
There are many options when it comes to surge protectors. We previously used the exterior connected surge protector in our motorhome, but now we use a hardwired surge protector in our travel trailer.
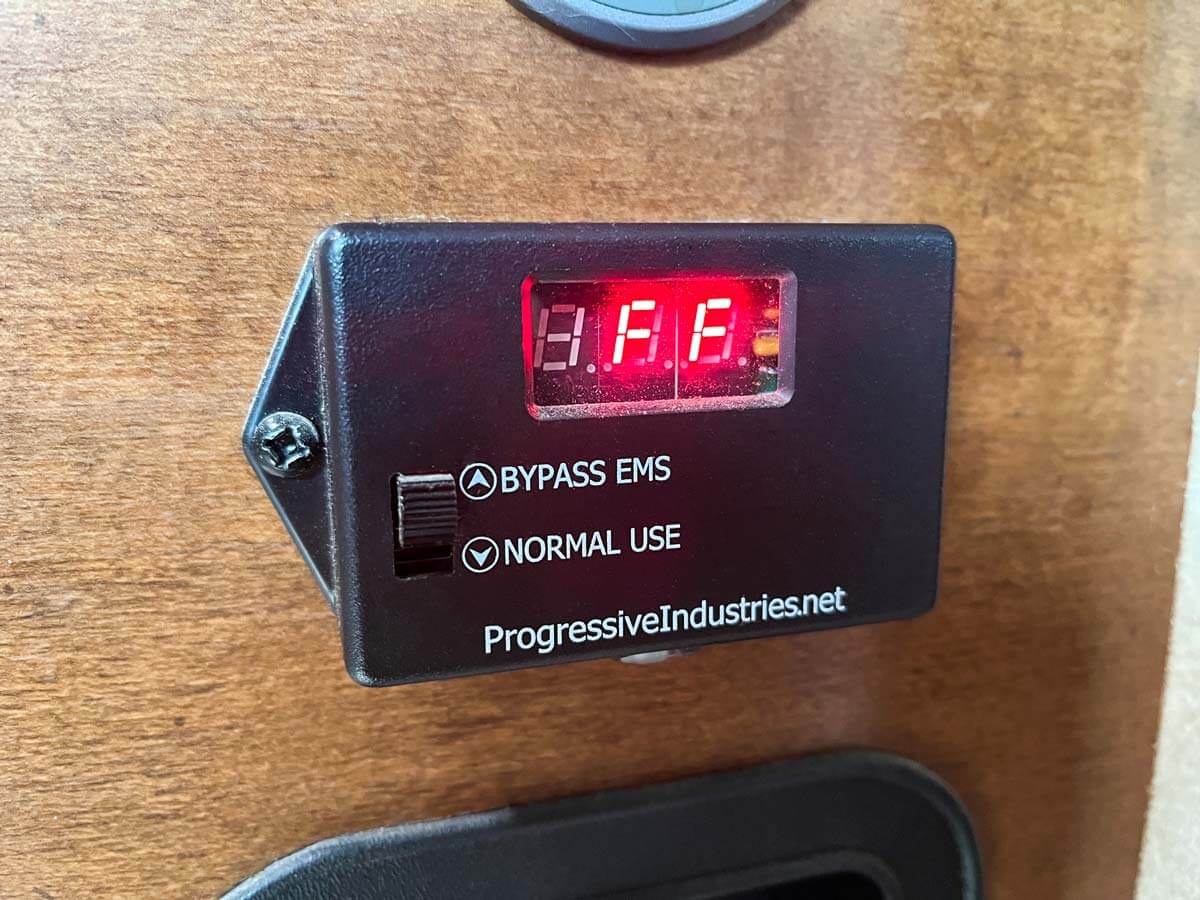
Both surge protectors are good options – the difference is between hardwiring the surge protector into your system or connecting it each time you plug into power.
PRO TIP: Consider the smaller hardwired surge protector if you have a small space to store your power accessories. If you choose the surge protector designed for exterior connection, make sure it has a lock!
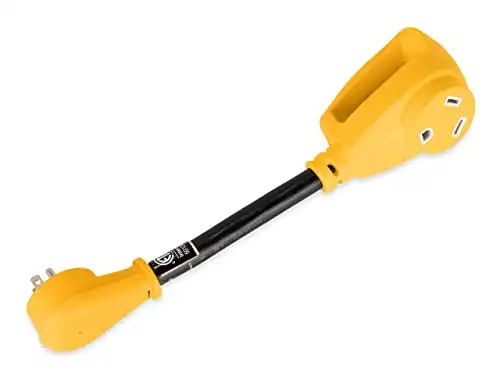
12. Power Adapter (Dog Bone)
Whether connecting to power at a campground or a residential home, you might need a power adapter. Homes usually run on a 15 amp connection.
If you have a 30 amp RV, you’ll need a 30-15 amp adapter to connect to power.
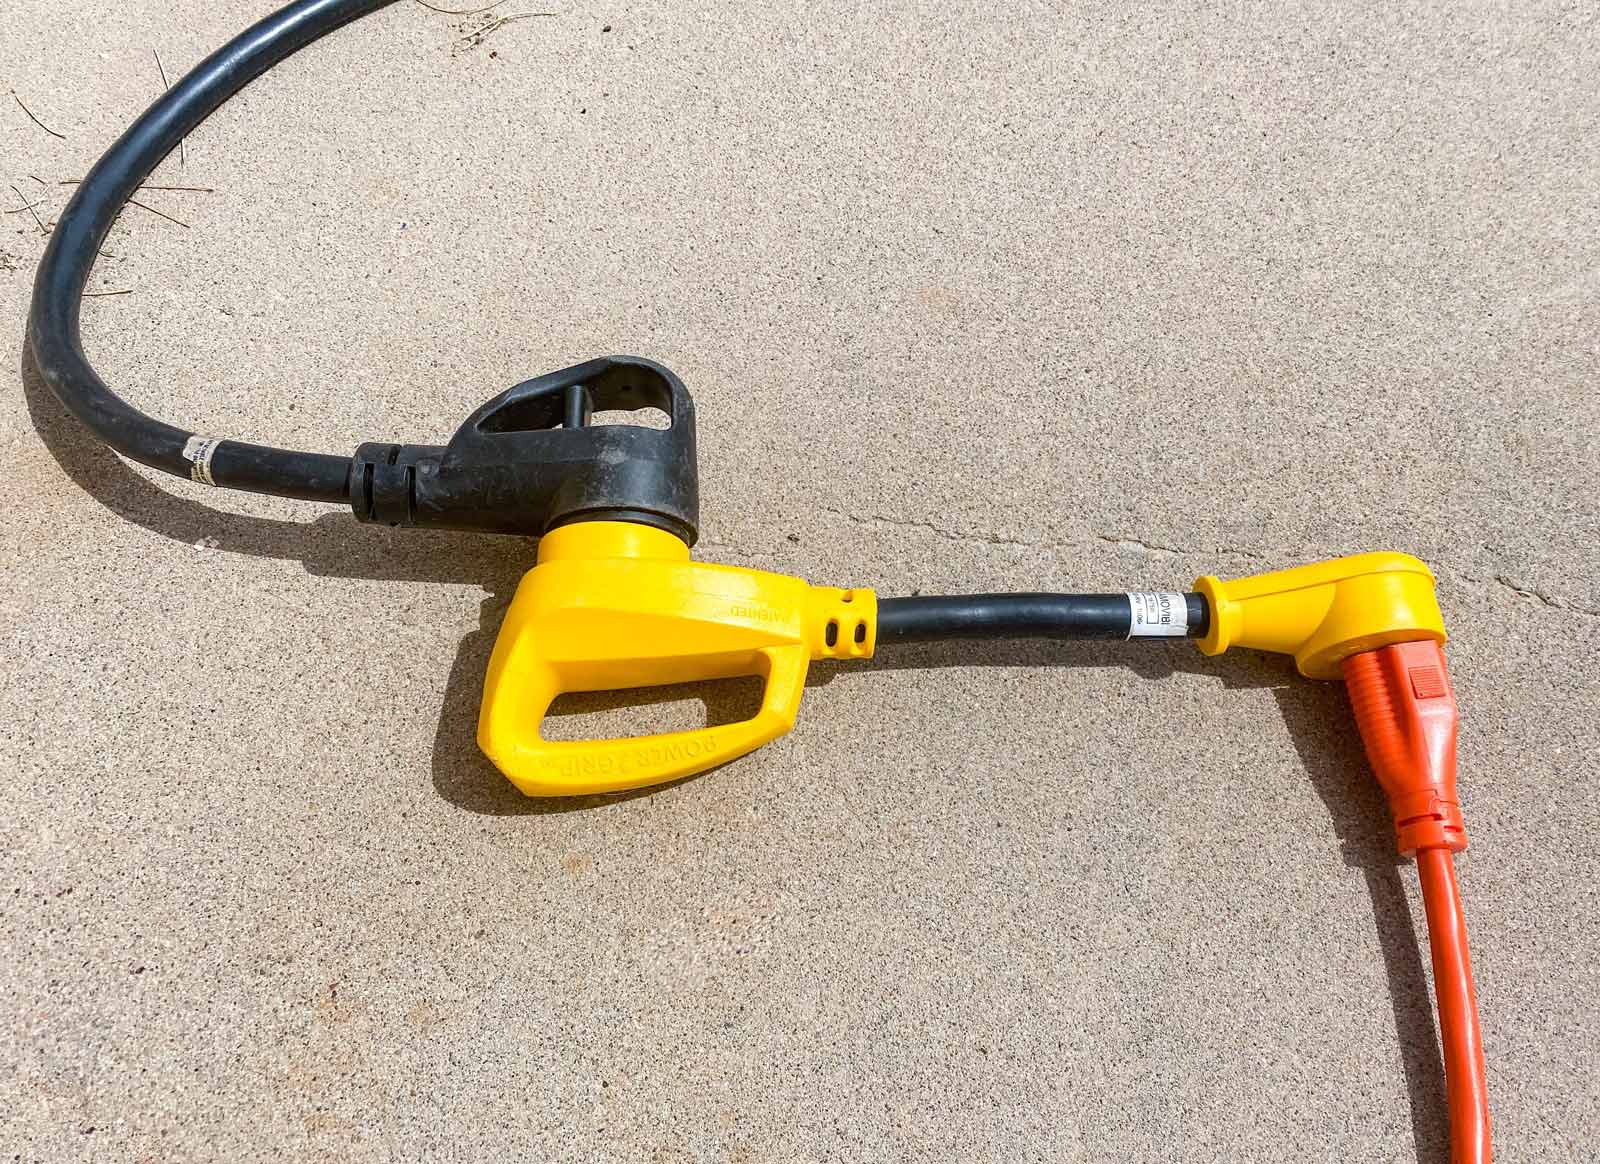
You could find your campground spot doesn’t have the connection your RV requires. If you have a 50 amp RV, you might need to adapt to a 30 amp connection. 30 amp RVs might also need to adapt to a 50 amp.
- Available in multiple versions including 15/30, 30/50, 50/30, 15/50
- Heavy-duty, flexible, and durable construction
PRO TIP: Dog bones are also handy in RV parks if you get an error on the pedestal for your power connection. You can quickly adapt up or down to use the other connection until someone can look at it or you solve the issue.
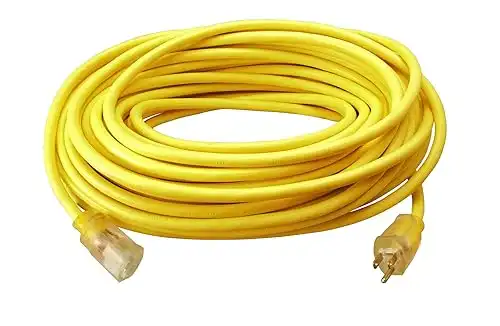
13. Heavy-Duty Extension Cord
An extension cord will allow you to extend the reach of your power cable. It is necessary for moochdocking at a family or friend’s house or setting up your RV to plug into your home power grid.
- 15 amp
- Heavy-duty 3-prong extension cord
- Water-resistent and highly visible
PRO TIP: We recommend purchasing a heavy-duty extension cord that is also water-resistant. These cords also come in handy for powering tools or other camping gear outdoors.
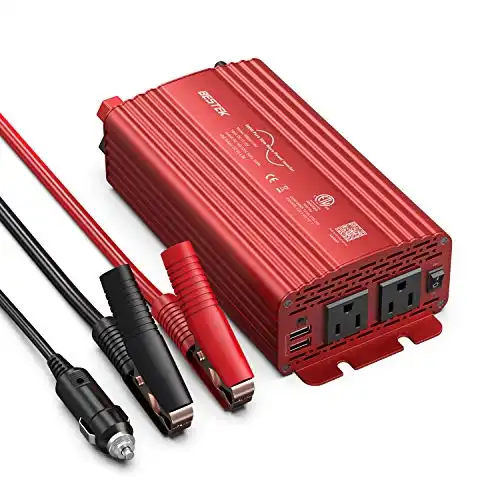
14. Small Inverter (Optional)
Although not a true RV essential, a small inverter is a good investment if you plan to do any dry camping (camping without power hookups).
Many large inverters are a component of permanently installed off-grid systems with solar panels, but to get your RV on the road, let’s look at a small inverter that can run a fan or other electronic item with a low-power draw. This is a small investment that is ideal for RV living.
- Car charger inverter adapter (DC to AC power)
- Includes 4.2A dual USB charging ports and two AC outlets
A small inverter that plugs into a 12-volt port will help you during an overnight in a Walmart parking lot or another short stay without a power connection.
PRO TIP: Choose a pure sine wave inverter if you plan to charge a laptop. Other inverters can permanently damage a computer.
Travel Trailer Leveling & Securing
Each time you park your RV, you must level it side to side and front to back. You’ll want to do this for comfort, and your RV fridge needs to be level to operate correctly.
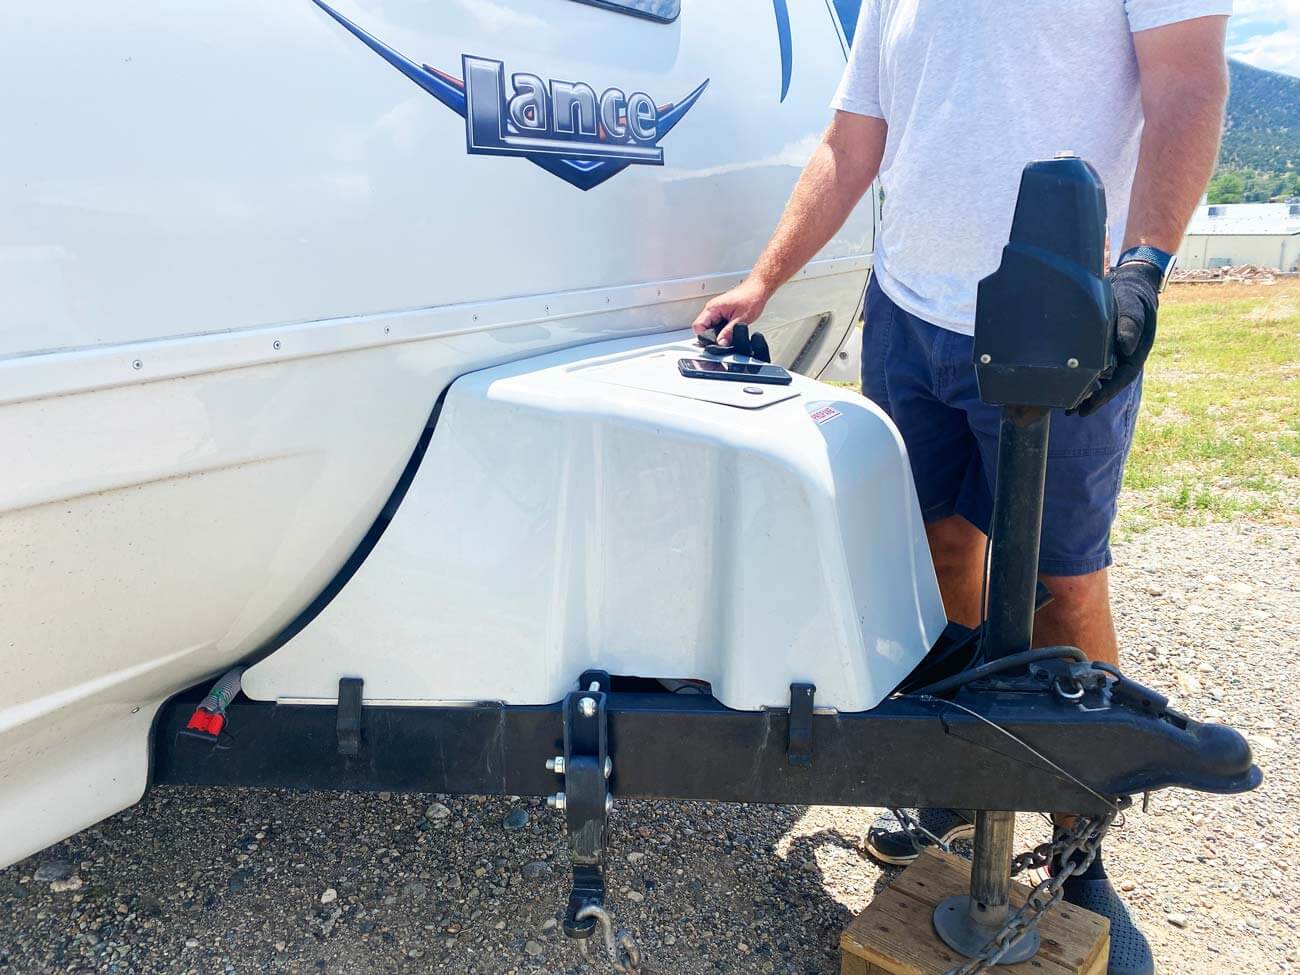
Slideouts should also be level to evenly distribute the weight and avoid putting strain on specific components. With travel trailers (and other towable RVs), you also need to secure and stabilize the trailer.
Items #15 – 18 below are the best RV accessories for leveling, securing, and stabilizing your RV.
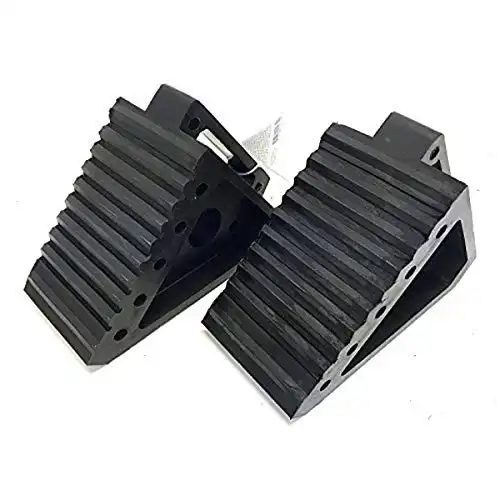
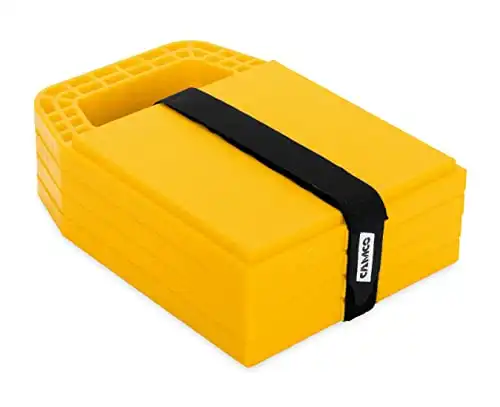
15. Trailer Wheel Chocks
These are must-haves for towable RVs (travel trailer or fifth-wheel). Wheel chocks keep your trailer tires secured when it’s not connected to the tow vehicle.
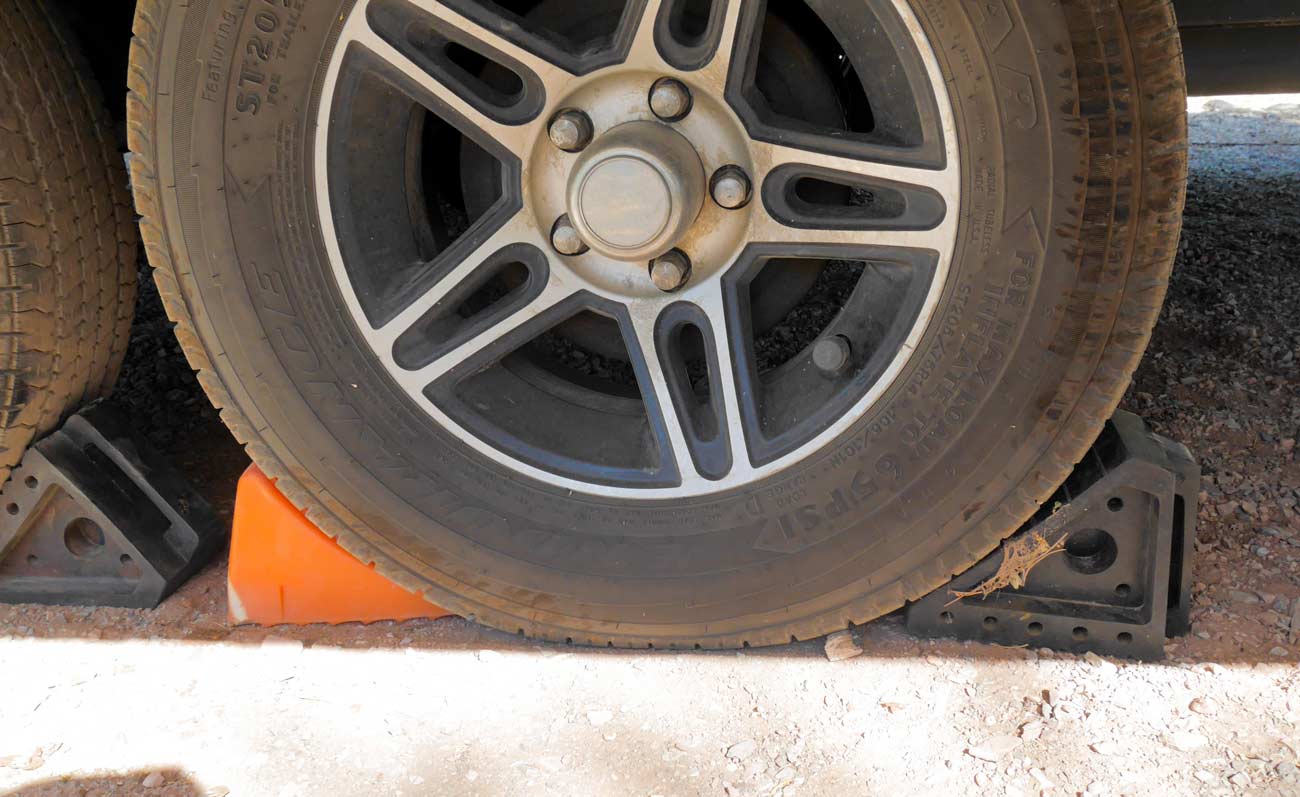
- Size of chocks: 8" x 4" x 6"
- All-weather design with a traction pad for securing a trailer in any conditions
- Built-in handle for easy maneuvering
We have both a plastic and rubber set of wheel chocks.
The rubber set of chocks above is more heavy-duty and superior to the plastic version, in my opinion. They give us a better sense of security, especially on steeper inclines and in wet weather.
16. Leveling System
Is your RV level? You’ll need some form of a leveling system to confirm which way to raise or lower your rig when you set up camp.
The simplest way to level your camper is to walk inside and place a small level at different ends of the RV to see which ends and sides need to go up.
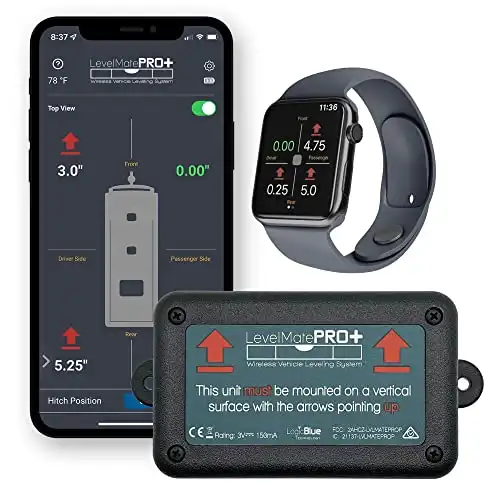
Some trailers and motorhomes will have level reading and even self-leveling built-in. If your RV doesn’t have one, a popular system to install is the LevelMatePro.
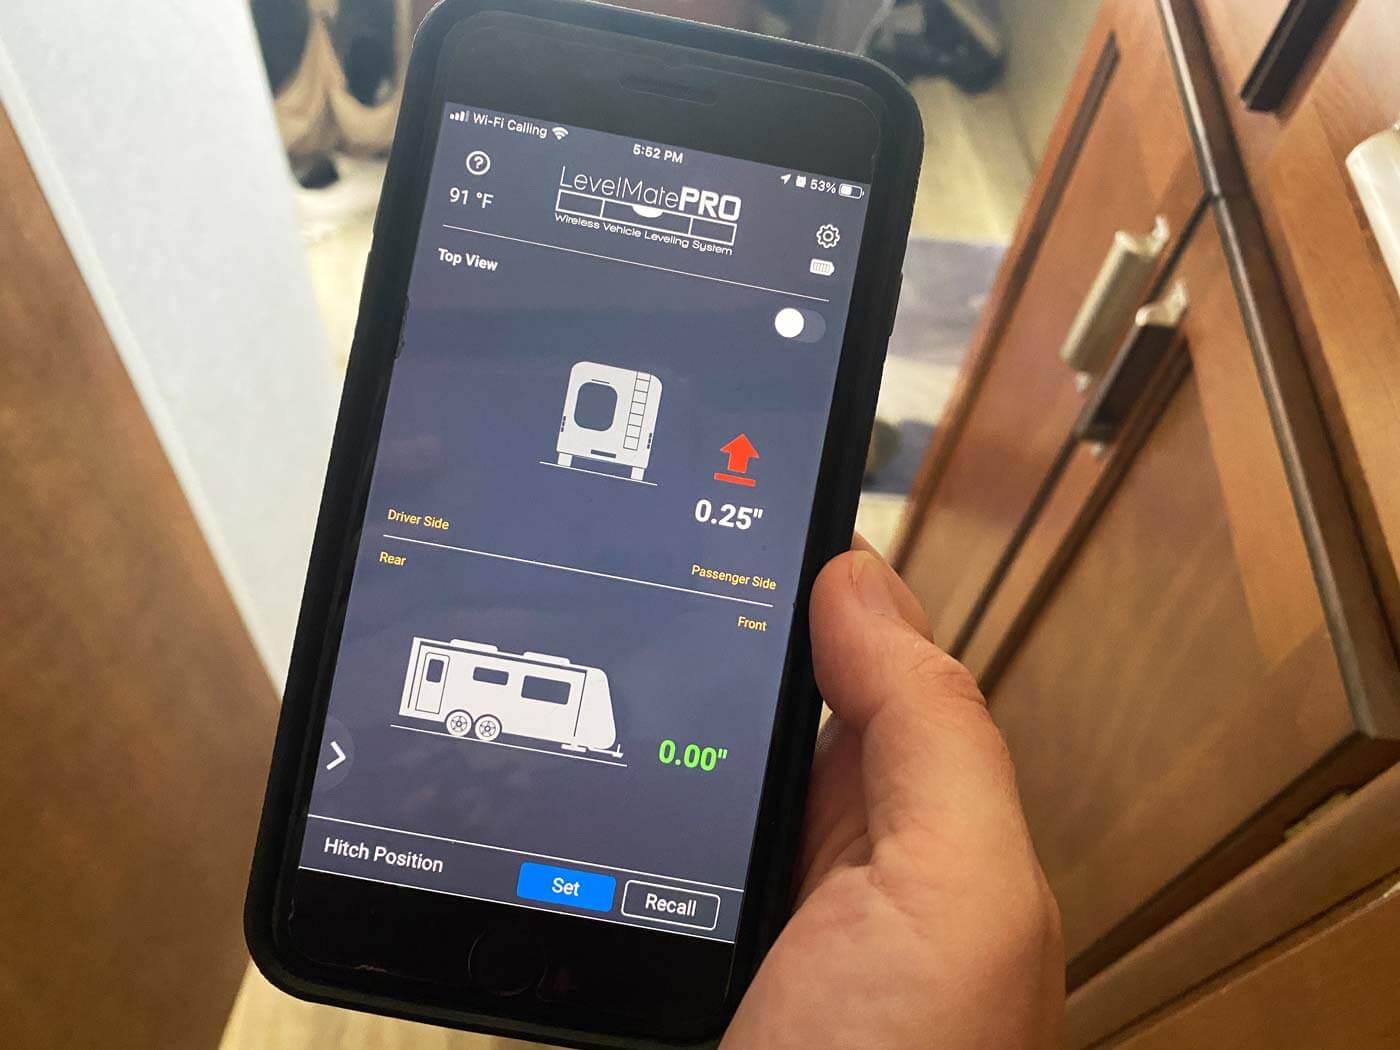
- Easy to use smartphone and Apple watch Bluetooth RV leveling tool
- Built to be installed in your RV
- Powered by batteries or can be connected to power depending on the version you purchase
The previous owners installed this system in our travel trailer. It works through an app on your phone to tell you how many inches you need to raise your camper and on which side.
Our opinion? It’s one of our favorite RV gadgets. It makes setting up your RV campsite more hassle-free and takes the guesswork out of leveling!
17. Anderson Levelers & Leveling Blocks
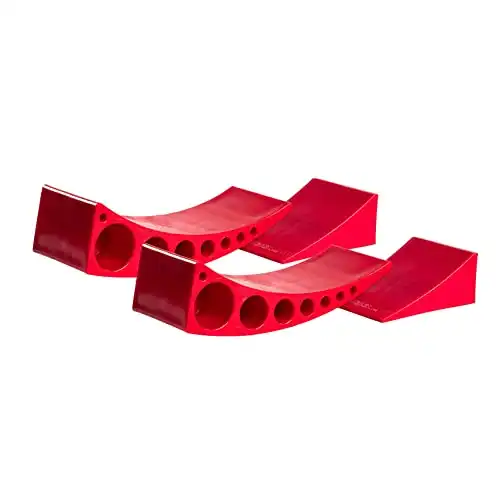
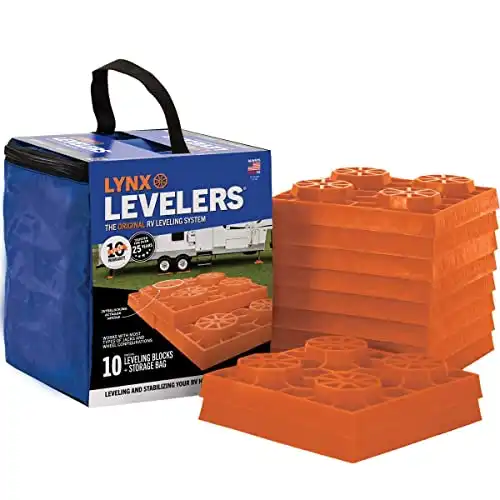
There are different RV leveler options for your camper. We have both Andersen levelers and Lynx Block levelers, so let’s look at the pros and cons of each.
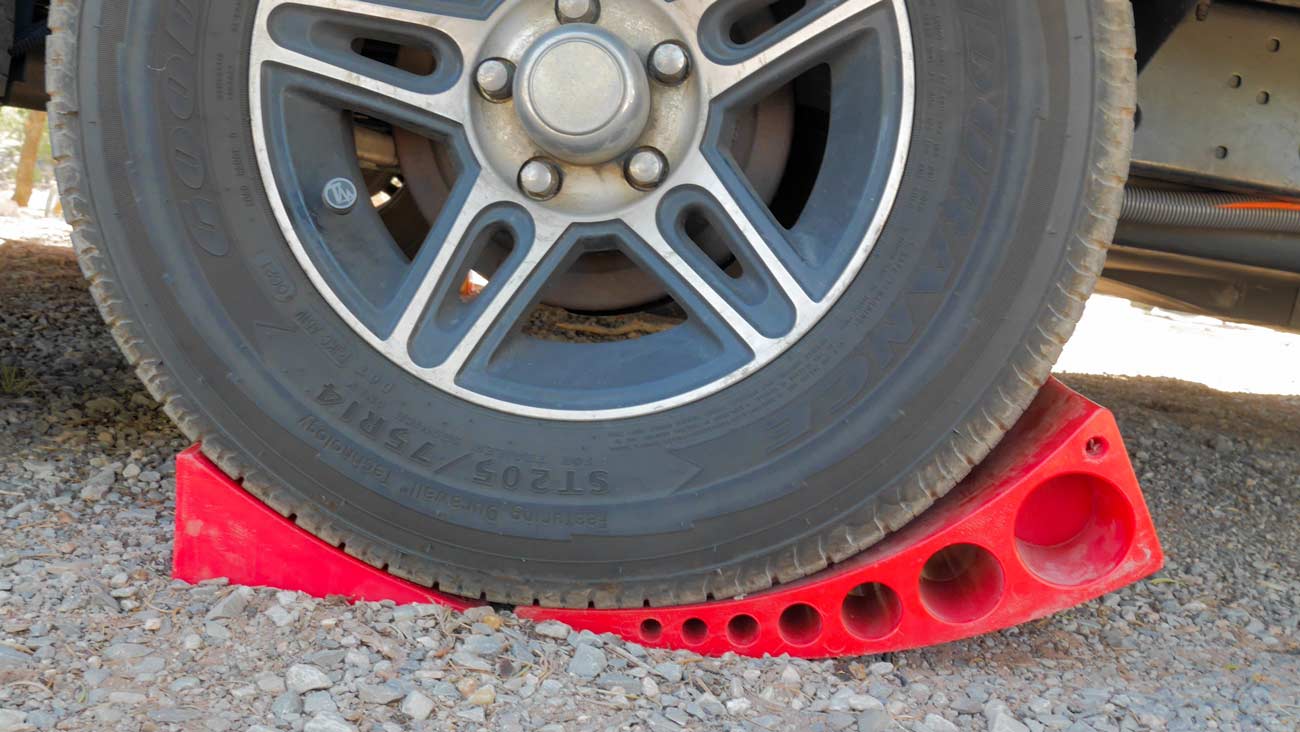
Andersens are typically the easiest levelers to use. Just pull the camper onto the leveler until the RV reaches the desired height.
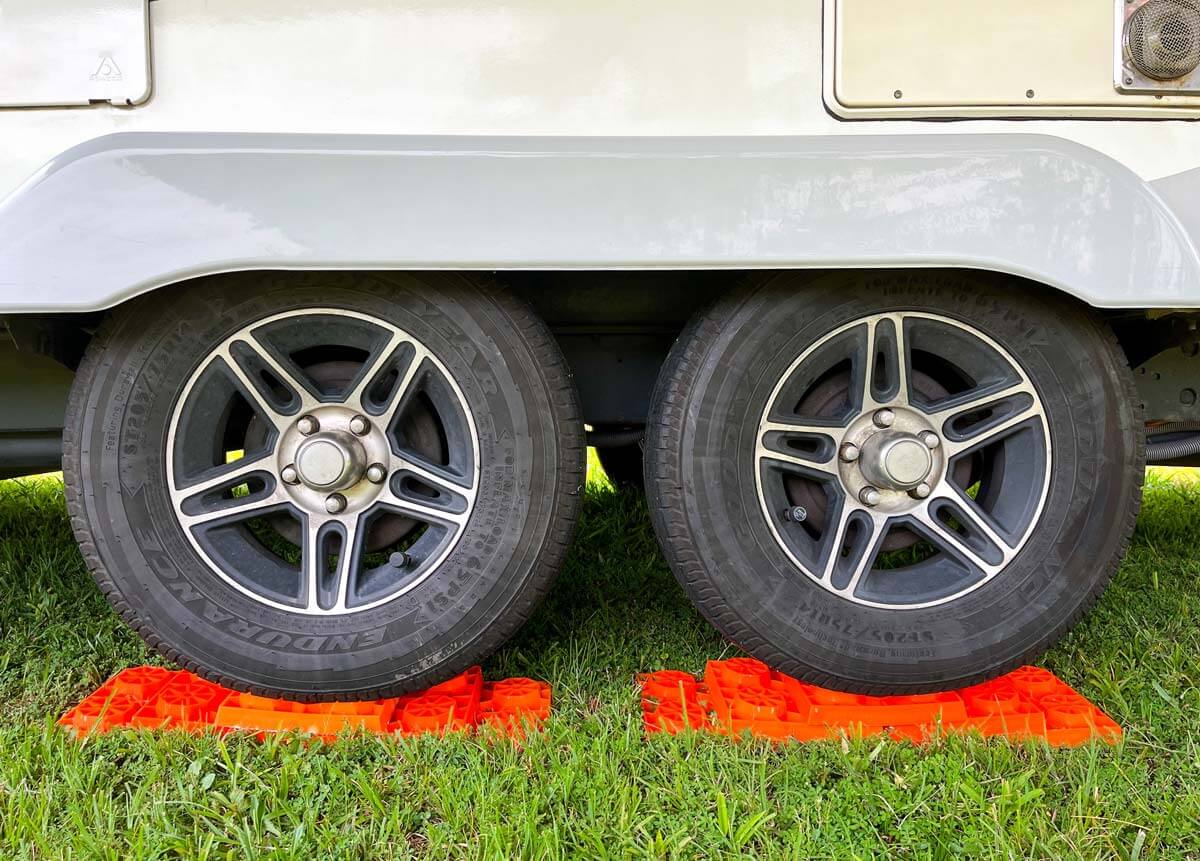
Lynx Blocks provide about a 1-inch lift each and require stacking the blocks to get the height you need.
As full-time RVers, we like to carry both types of levelers to have options and be prepared. Also, the space between our trailer tires isn’t wide enough to fit a second Andersen leveler, so be aware of this issue if your trailer tires are close together.
PRO TIP: You can also use leveling blocks under your jack pads when needed. We’ve also used these blocks to raise the truck for maintenance and increase the height when leveling the trailer front to back. If you’re a full-time RVer, we recommend two packs of ten blocks (especially if you boondock often).
18. Camper Stabilizing Accessories & Jack Pads
Travel trailers need jack pads for the stabilizers (such as the set below).
These pads will keep the stabilizers from sinking into the soft ground and provide an extra cushion on hard surfaces.
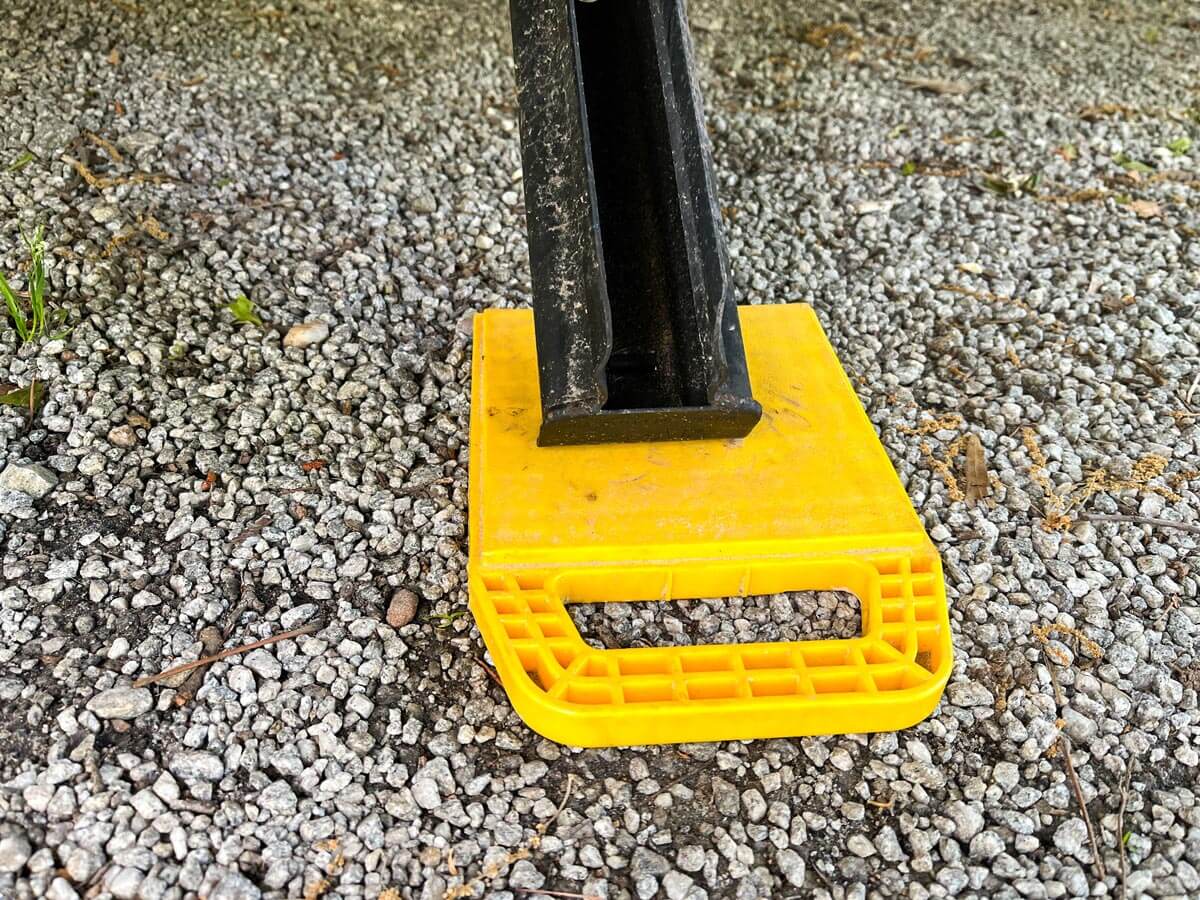
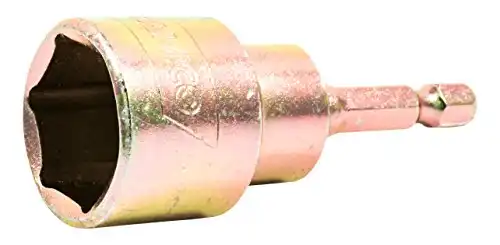
Although you can hand-crank your RV scissor jacks, a drill adapter, and a cordless drill will save you time and effort in lowering and raising your jacks.
Some trailers have built-in mechanics to move your jacks up and down, which will not require a drill or drill adapter.
ALTERNATIVE ITEM: A popular RV item on the market called SnapPads actually attaches to the stabilizer. This means you avoid unpacking the pads and inserting them under the stabilizers each time you camp. SnapPads are compatible with specific travel trailer and fifth-wheel stabilizers. You can check their site to see if they support your RV model.
Travel Trailer Tire Pressure
Before your first camping trip, you must understand how to monitor your RV tire pressure and your tow vehicle’s tire pressure, as this is crucial to safety when towing your camper.
Closely monitoring tire pressure will help you avoid a tire blowout and increase your tire life.
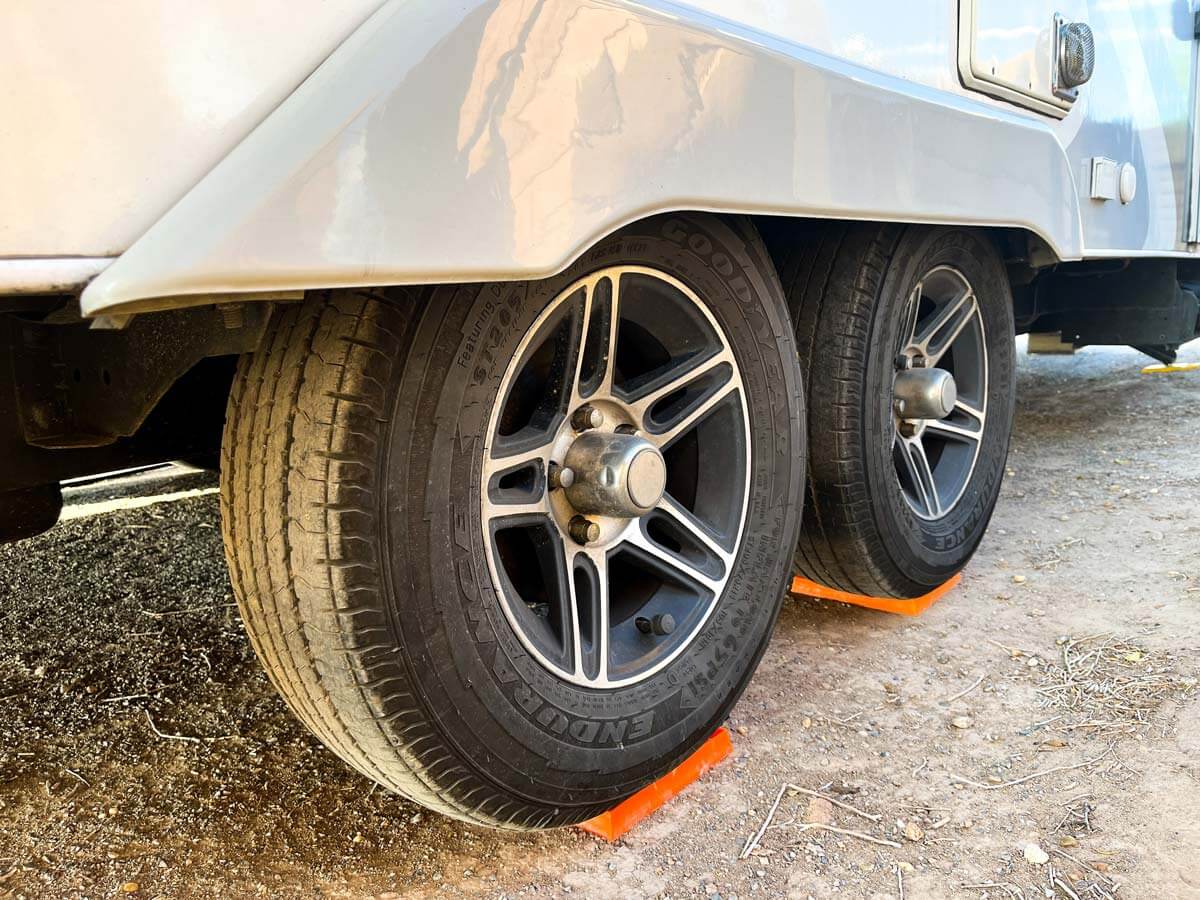
I always recommend checking your tires before moving your RV.
Items #19 and #20 below are essential tools to check and manage tire pressure.
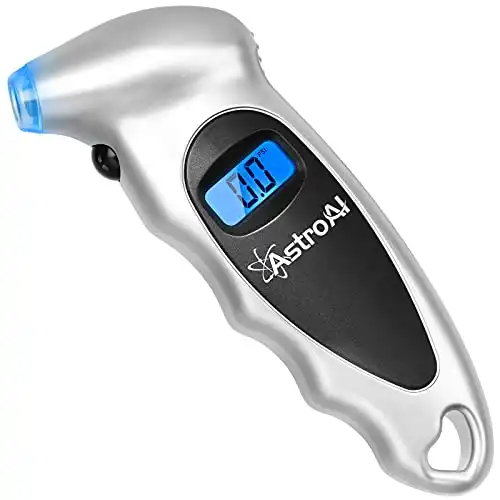
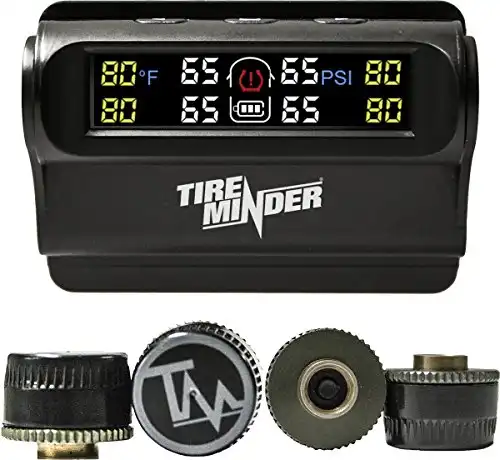
19. Tire Pressure Gauge or TPMS (Tire Pressure Monitoring System)
A tire pressure gauge or tire pressure monitoring system will allow you to quickly check your tire pressure on your RV from your campsite.
A tire pressure gauge is an easy, affordable way to check the pressure. However, a TPMS is a great way to monitor tire pressure and temperature before traveling and while on the road.
The TPMS requires a little more investment and installation but is worth the time and money to set up.
New RV owners who plan on covering many miles will save a lot of time and worry by upgrading to one of these systems.
PRO TIP: For interior tires on dually trucks, you may need to install valve stem extenders to make checking and adjusting tire pressure easier. This was one of our first upgrades on our motorhome and later on our F350.
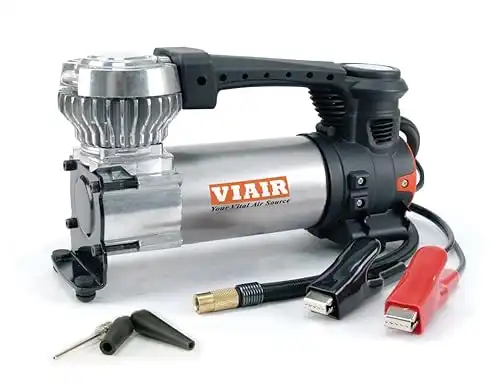
20. Air Compressor
A portable air compressor adds a layer of convenience to maintaining your tire pressure in your towable RV or towing vehicle.
An air compressor is also a good idea for safety in your RV, especially in rural areas where it could be difficult to find one.
You can run an air compressor by connecting it to your vehicle battery or (sometimes) the house battery of your RV.
- Tire inflator with alligator clamps
- 12-volt, 120 PSI for up to 33-inch tires
PRO TIP: We recommend the above air compressor because it allows you to inflate to 120 PSI, making it suitable for trucks and large motorhomes.
RV Hitch for Travel Trailers
Your RV hitch is one of the most important travel trailer accessories you’ll purchase for your RV.
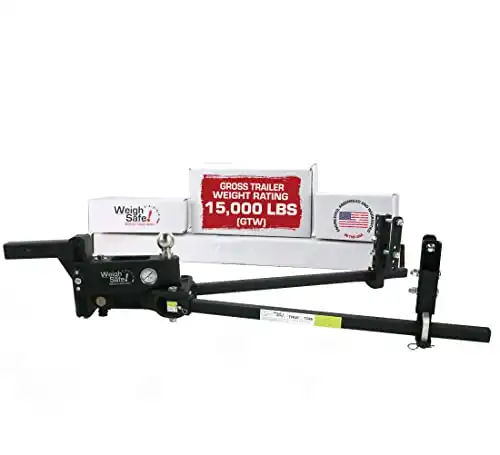
21. Weight Distribution Hitch
A weight distribution hitch is the best option for towing a travel trailer safely and efficiently.
These hitches evenly distribute the trailer’s weight across the towing vehicle’s axles. This reduces the strain on the rear axle and improves stability on the road.
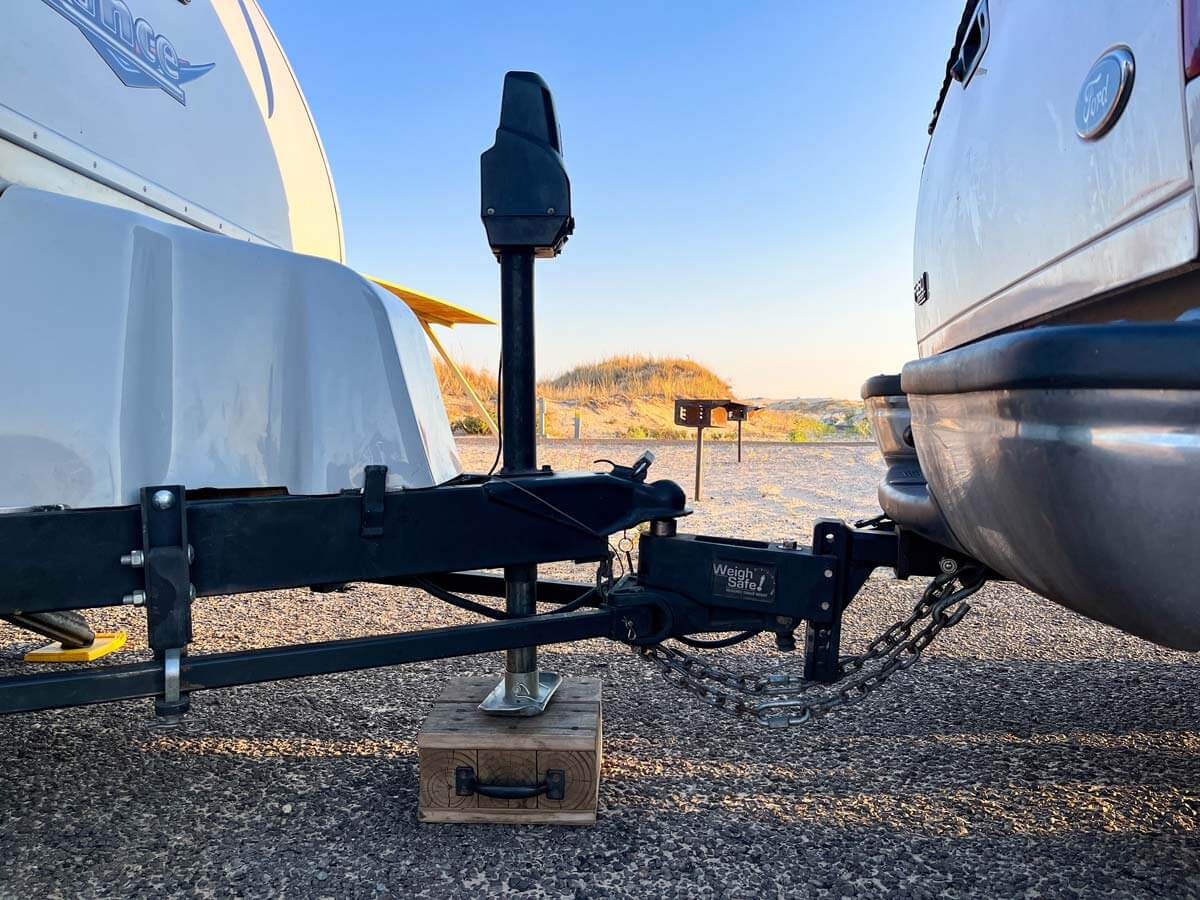
- 4-point sway control
- Weight gauge, 6 or 8-inch drop hitch, 2-inch shank
- 15,000 lbs. maximum GTW, 1,500 lbs. maximum tongue weight
- Includes 2-5/16" tow ball
Weight distribution hitches will improve the trailer’s handling and can even increase fuel efficiency. If you RV full-time or plan to put a lot of miles on your trailer, I highly recommend one of these hitches.
If you have a smaller travel trailer (under 5,000 lbs), you may be able to get away with a weight-carrying hitch. These are less expensive but are not as easy to tow.
RV Safety Accessories
When you’re on the road in your RV, you want to have a few important safety items on hand. It’s easy to let them slip your mind, but trust me, you’ll be thankful when you actually need them.
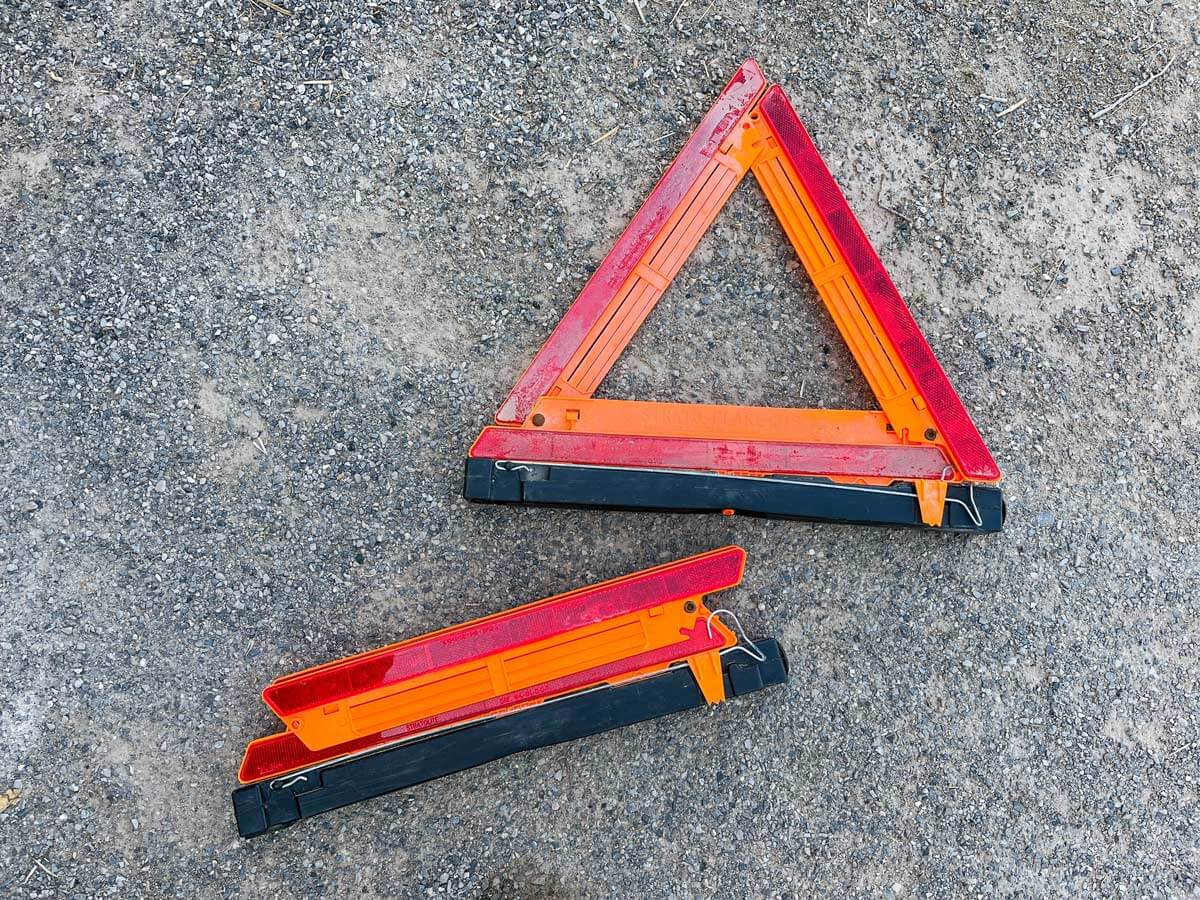
Items #22 – 25 below are some recommendations to ensure you and your family travel safely when you’re on the road.
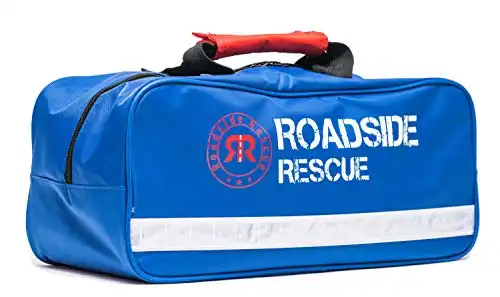
22. Emergency Roadside Kit
This must-have RV accessory is crucial if you have a tire blowout, an issue with your tow vehicle, or any other problem while riding down the road on travel days. These kits often include:
- Jumper cables
- Tow straps
- Safety triangles
- First aid kit
- Flashlight
- Bungee cords
- 110 premium pieces and tote bag
- Includes heavy-duty jumper cables, heavy-duty tow straps, safety triangles, first aid, and more.
PRO TIP: You can put this kit together yourself or just purchase a couple of individual items you’re missing to create a kit. Remember to make sure your RV has a spare tire!
23. Fire Extinguisher
Most travel trailers will come with at least one fire extinguisher installed. However, we like to have another one (or two) in other locations in the trailer.
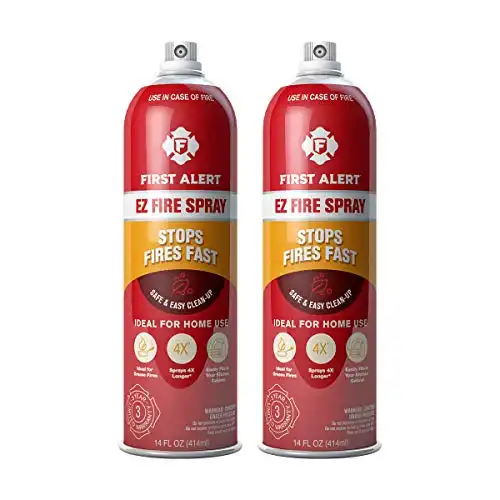
We purchased the below small fire extinguisher cans and have one easily accessible by the bed and an extra one in the kitchen.
The aerosol fire spray is ideal for small RVs since the cans are compact and store easily.
- Extinguishing aerosol spray for fires involving paper, fabric, wood, cooking oils, and electrical appliances
- Discharges 4 times longer than regular extinguishers
- Pack of two
PRO TIP: You might also want to invest in a “fireball” fire extinguisher that automatically deploys when a fire occurs.
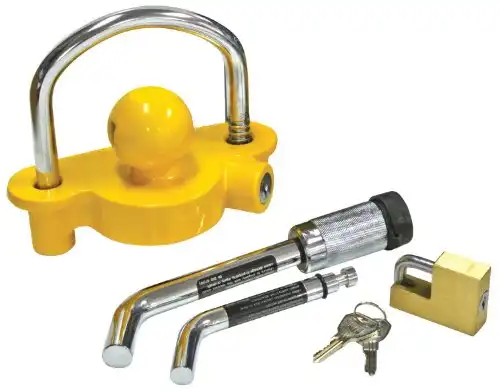
24. Trailer Hitch Lock
This simple yet effective travel trailer device helps prevent unauthorized access and theft of your camper.
In addition to deterring thieves, a hitch lock provides peace of mind, especially when leaving your trailer unattended in a boondocking area.
It’s a relatively low-cost accessory that can save owners from the inconvenience and expense of dealing with a stolen or tampered trailer, making it a wise addition to your travel trailer setup.
- Universal fit trailer hitch lock
- Includes two keys and swiveling clip
- Easy to install
The above hitch lock is similar to ours and is made by the same trusted brand.
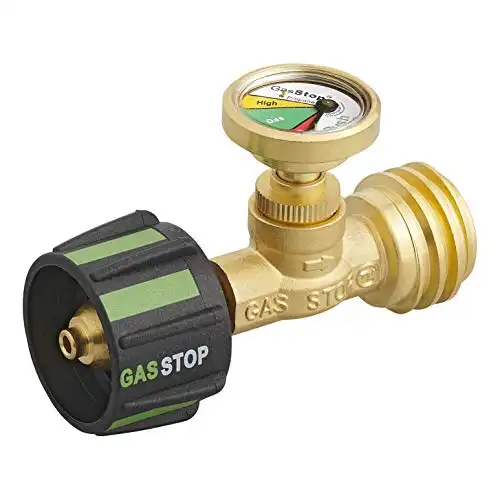
25. Emergency Propane Shut-Off
This safety RV gadget is installed on the propane tank between the tank connector and the propane line.
The device automatically cuts off the access to the propane tank in case of a major gas leak, minimizing the risk of fire or explosion and protecting both occupants and the trailer itself.
We consider this a valuable safety feature that ensures peace of mind during our travels and keeps our trailer and family safe.
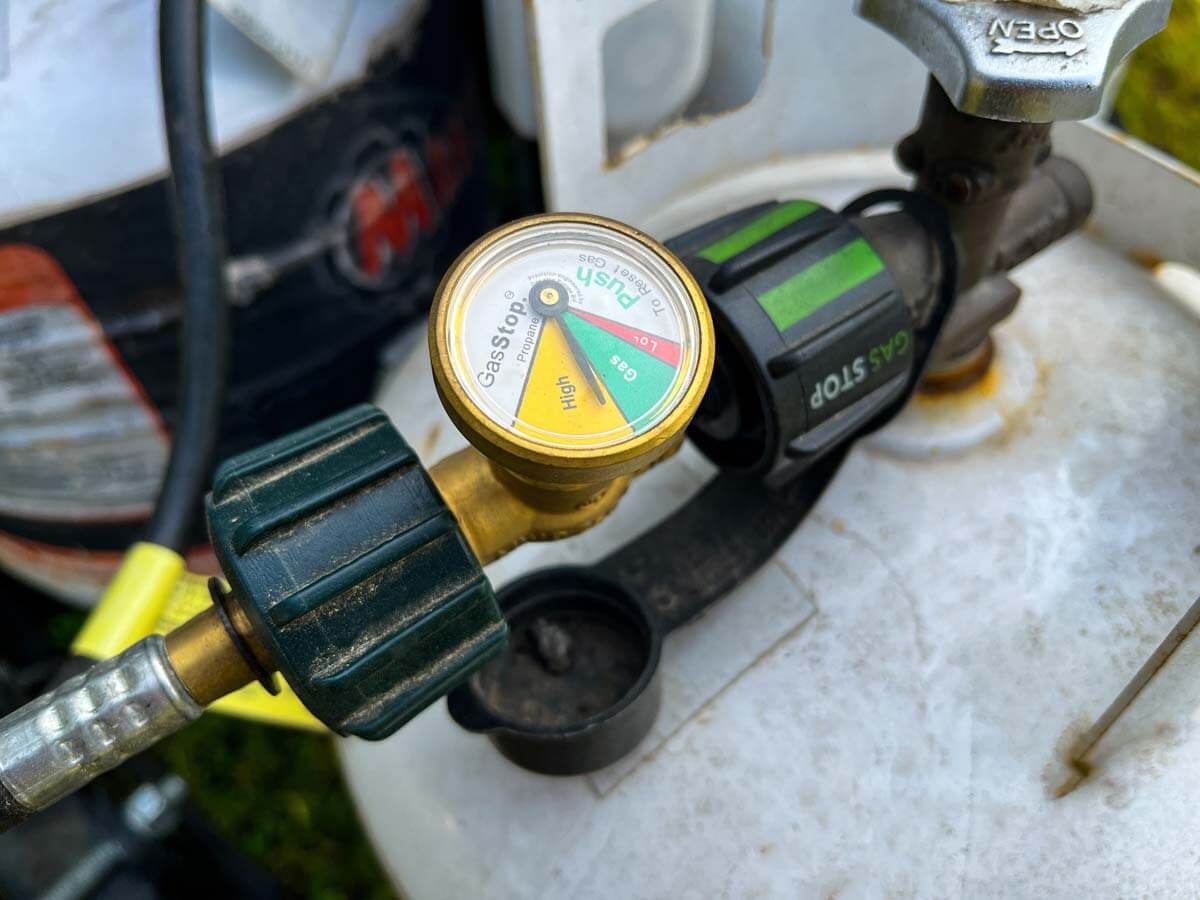
- Automatic shutoff of propane in case of a major leak
- Compatible with RV ACME-type connections
- Easy to install
These devices can be a bit pricey if you have multiple tanks. We have three propane tanks mounted on the front of our trailer, but we only connect two to our trailer at a time. We have two GasStop devices and rotate them between the tanks that are in use.
NOTE: This propane shut-off will only activate if there is a large leak. Small leaks won’t trigger the device.
Other Travel Trailer Must-Haves
After years on the road, here are a few other camping accessories we consider must-haves for travel trailer owners. Although they aren’t crucial to getting on the road, we thought #26 and #27 below were worth including.
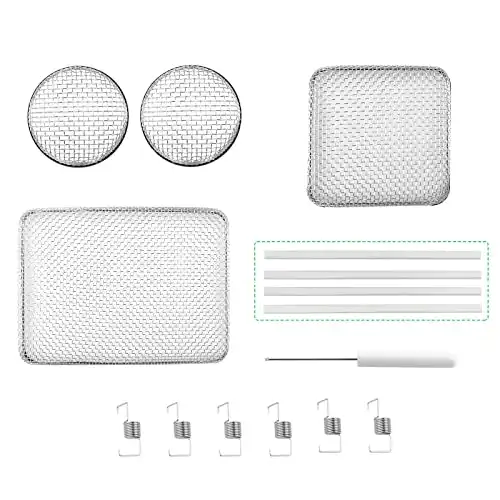
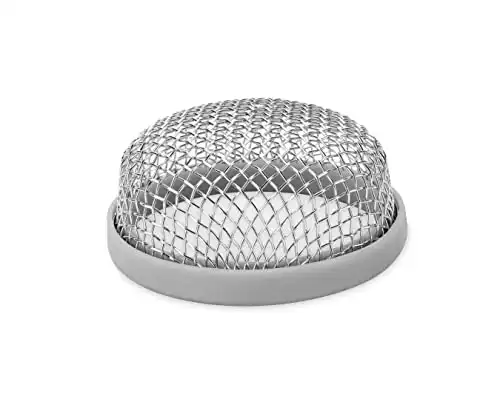
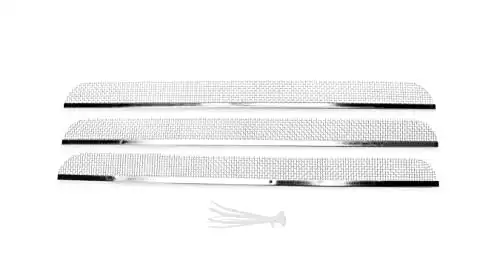
26. Insect Screens
Insect screens for your exterior vents, including the water heater, fridge, and furnace, will keep pesky bugs from making nests in these areas.
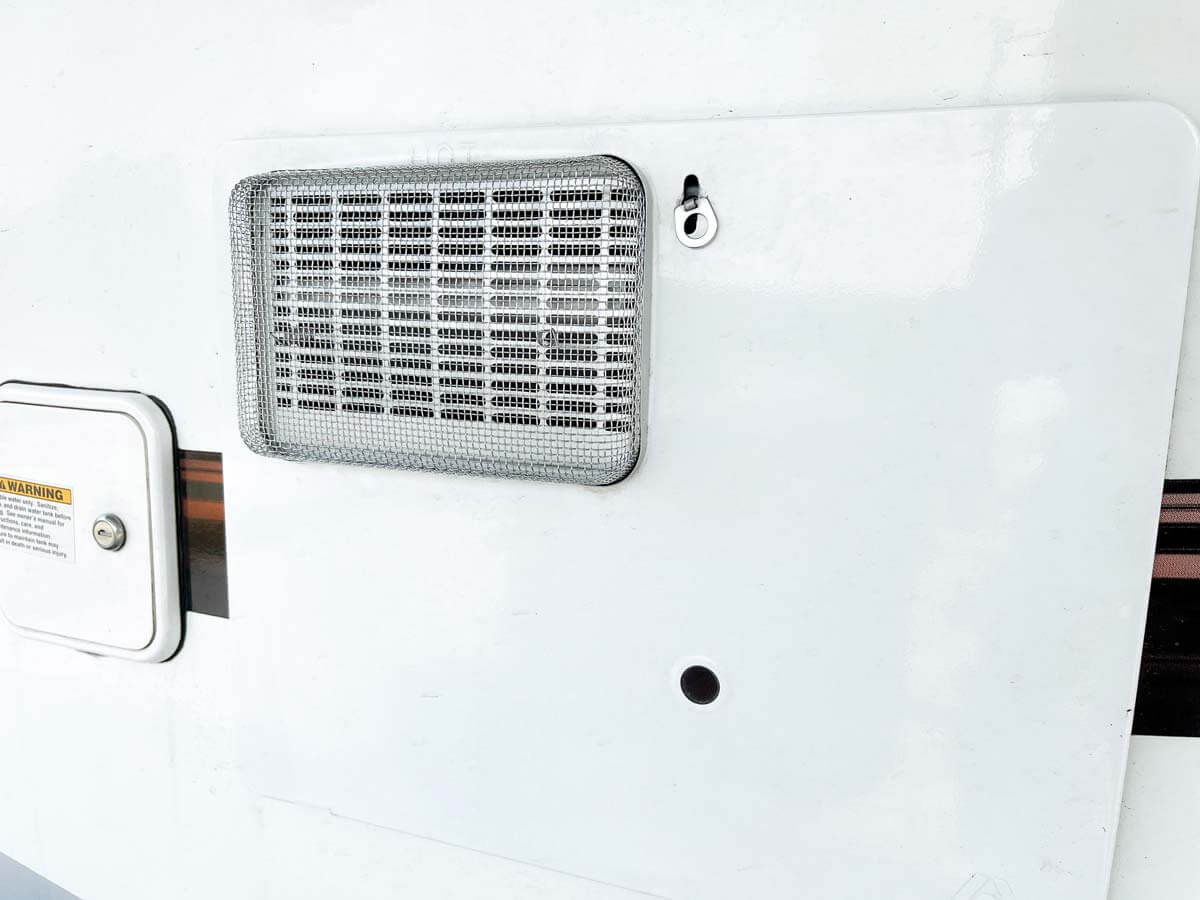
These are an affordable way to keep the bugs out, preventing any issues with your RV systems. They are also easy to install.
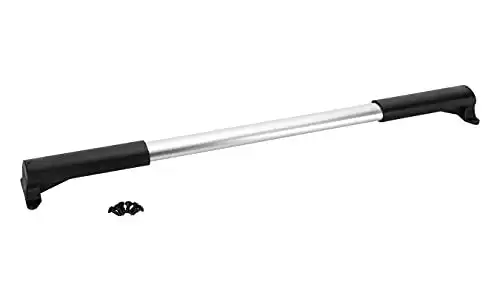
27. Screen Door Cross Bar
Most RVs have a screen door that locks into the main camper door. However, when the screen door is used separately, there’s no way to control the door from the inside.
A screen door cross bar solves this problem and is easy to install.
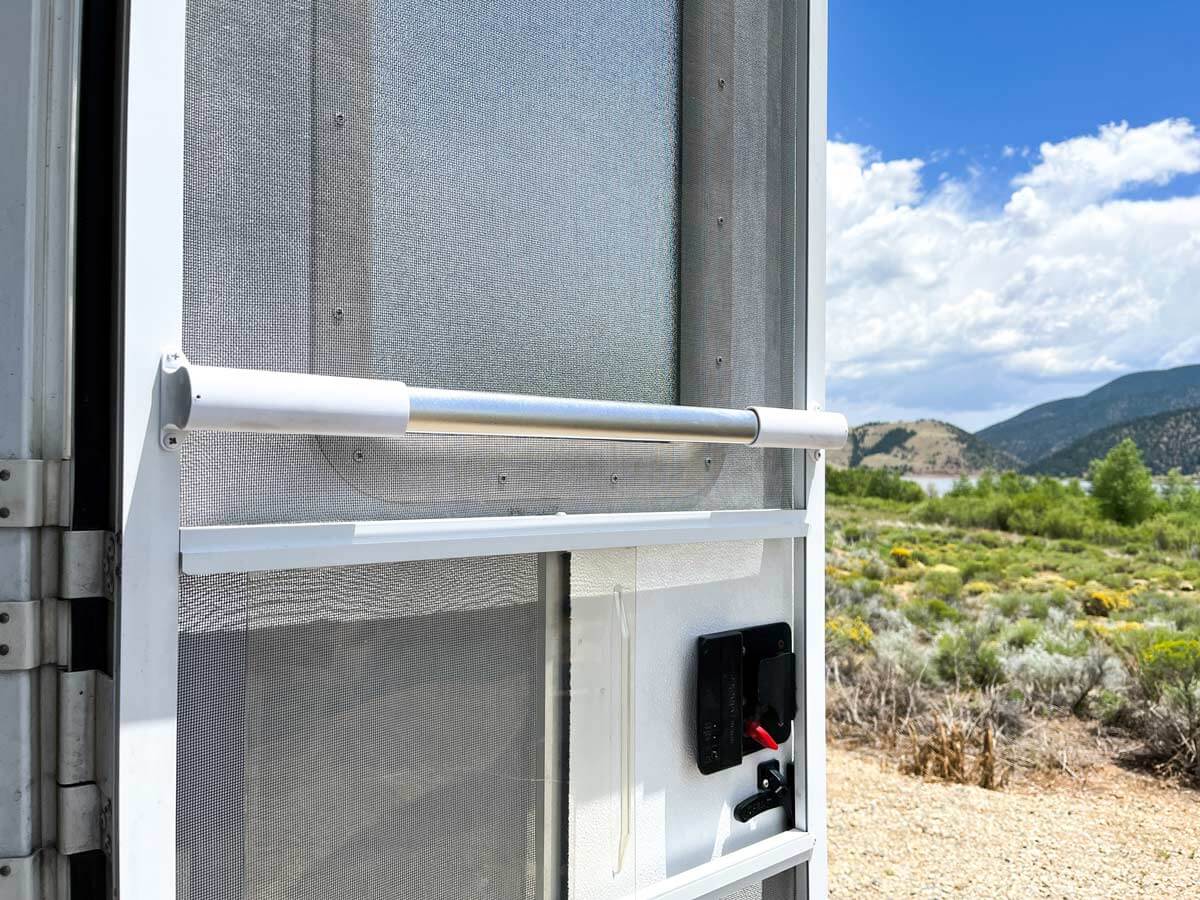
This is one of the first accessories we install when we purchase a new RV. It’s an affordable, easy upgrade!
BONUS: This bar doubles as a drying bar for hanging kitchen or bath towels – definitely a plus for smaller campers.
More Info on RVing Travel Trailer Must-Haves
While other RV accessories will make your life easier and more comfortable, the essentials above are everything you’ll need to start RVing in your travel trailer.
Your Guide to Launching RV Life
Road Map & Checklist – Start Now!
Unsubscribe at any time. View our privacy policy.
From leveling your RV to monitoring your tire pressure, we’ve covered all the tools and camper equipment you need to maintain your travel trailer and stay safe on the road.
Follow the guidelines above, and you’ll have your travel trailer outfitted and ready for travel quickly!
Need a full guide to outfit your RV?
For more on essential RV gear, including kitchenware, RV gadgets, and campsite setup items – view our complete guide.
Like this post? Save it on Pinterest for later.
Or view our web story.

