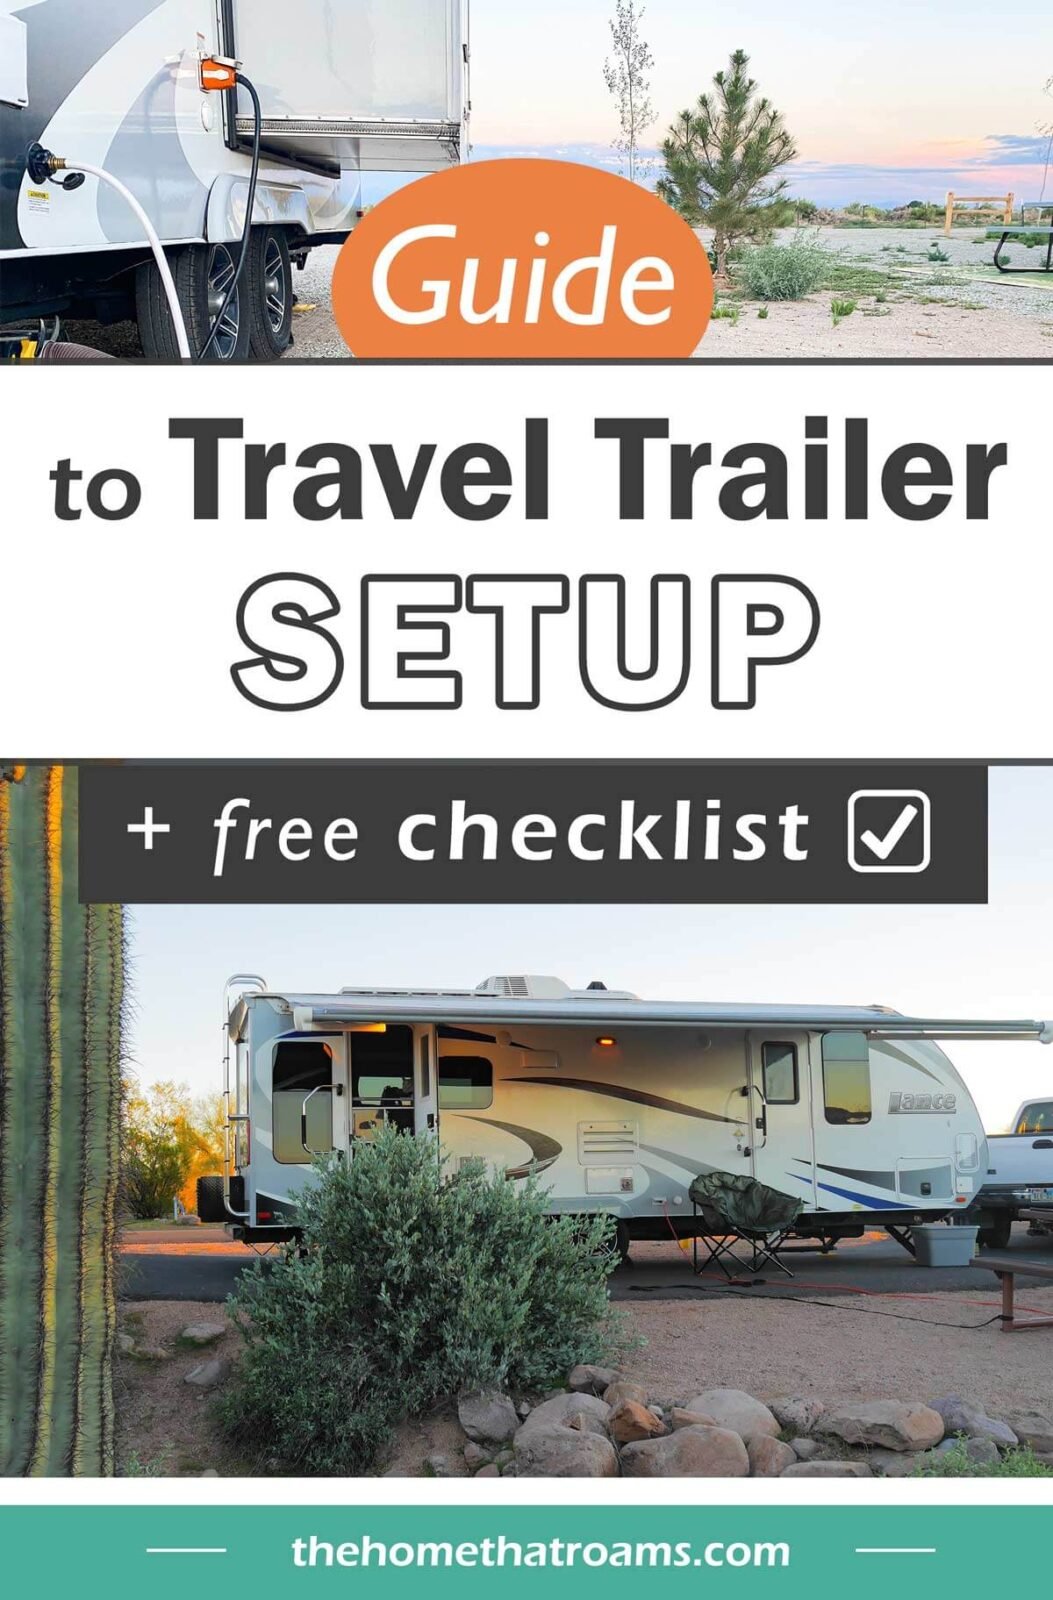
Travel Trailer Setup Checklist: Setting Up an RV Campsite for Beginners
As an Amazon Associate, we earn from qualifying purchases. We also earn from other affiliate websites. See our full disclaimer.
When setting up your RV travel trailer as a beginner, it’s essential to take your time and do it correctly. You don’t want to rush through the setup procedure and wind up with an RV that isn’t set up safely or prepared for an enjoyable camping experience.
We’ll cover everything you need to know – from unhitching the trailer to RV hookups, and give some helpful tips that took us a while to learn!
Below we’ll take you through a step-by-step travel trailer setup, so you are fully prepared to take your RV to a campsite. You can also download our travel trailer setup checklist below.
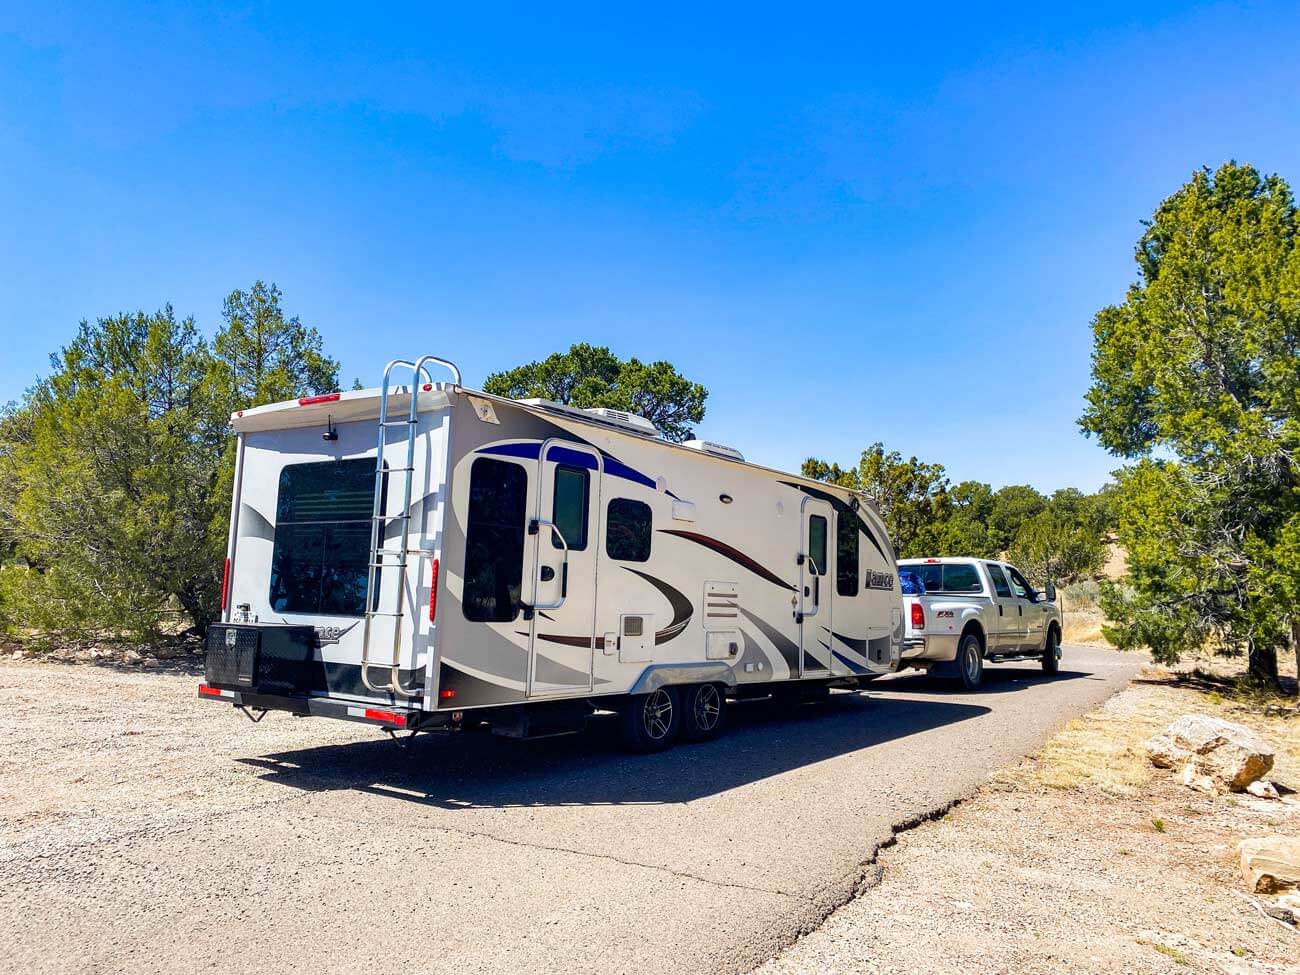
Arriving at Your Campsite
The first thing you want to do before pulling into a site is to inspect it. If you can choose your spot, drive around until you find one that suits you and ask yourself these three questions.
- Is it level?
- Does it have any obstructions for backing in, putting out the awning or slide outs, or using the solar panels?
- Where are the hookups?
You can usually inspect the site from the driver’s seat on a flat, pull-through, concrete pad campsite. However, getting out and surveying the area on foot is best for anything more complicated. We still follow this process at almost every site. It doesn’t pay to be in a rush.
Let’s break down what to look for when answering the above questions.
Is the Campsite Level?
Picture where your RV camper will be in your mind. Take note of sloping and where you might need leveling blocks. Look for bumps and dips to avoid. If a campsite is too crooked, it may be best to drive on or ask the campground if you can be reassigned to a different spot.
Obstructions
Trees, large rocks, camping tables, hookup pedestals, or any other obstructions make it hard to get into a site and can damage slide-outs and awnings. Trees cast shade that can help keep an RV cool but also significantly reduce the output of solar panels and dirty the RV’s roof.
Hookup Locations
Ideally, a campsite will have water, electrical, and sewer hookups on the driver’s side of the RV centrally located where you will park. The passenger’s side is left with room to set up camping gear.
In reality, there isn’t consistency with hookup layouts between campgrounds or even campsites within some campgrounds. Sometimes the hookups can be spread out so far that extra hoses or electrical extensions are needed. We have experienced campgrounds with water and electricity on the driver’s side and the sewer right in the living space on the passenger side.
Try to line up the RV’s sewer connection with the campsite’s. Sewer hoses tend to be the shortest hookups and the most cumbersome to set up. Bends in sewer hoses accumulate particulates and make them harder to keep clean.
RV Leveling and Unhitching
Once you’ve pulled or backed into your campsite, it is time to continue the RV checklist by leveling.
A device like the Levelmate Pro can speed up the leveling process by telling you exactly how many inches one side needs to be raised in real-time, but an RV level or a level from your toolkit can do the job with some patience.
Leveling Side to Side
If you have a towable RV such as a fifth wheel or travel trailer, it is crucial to level the rig side to side across the wheelbase before unhitching.
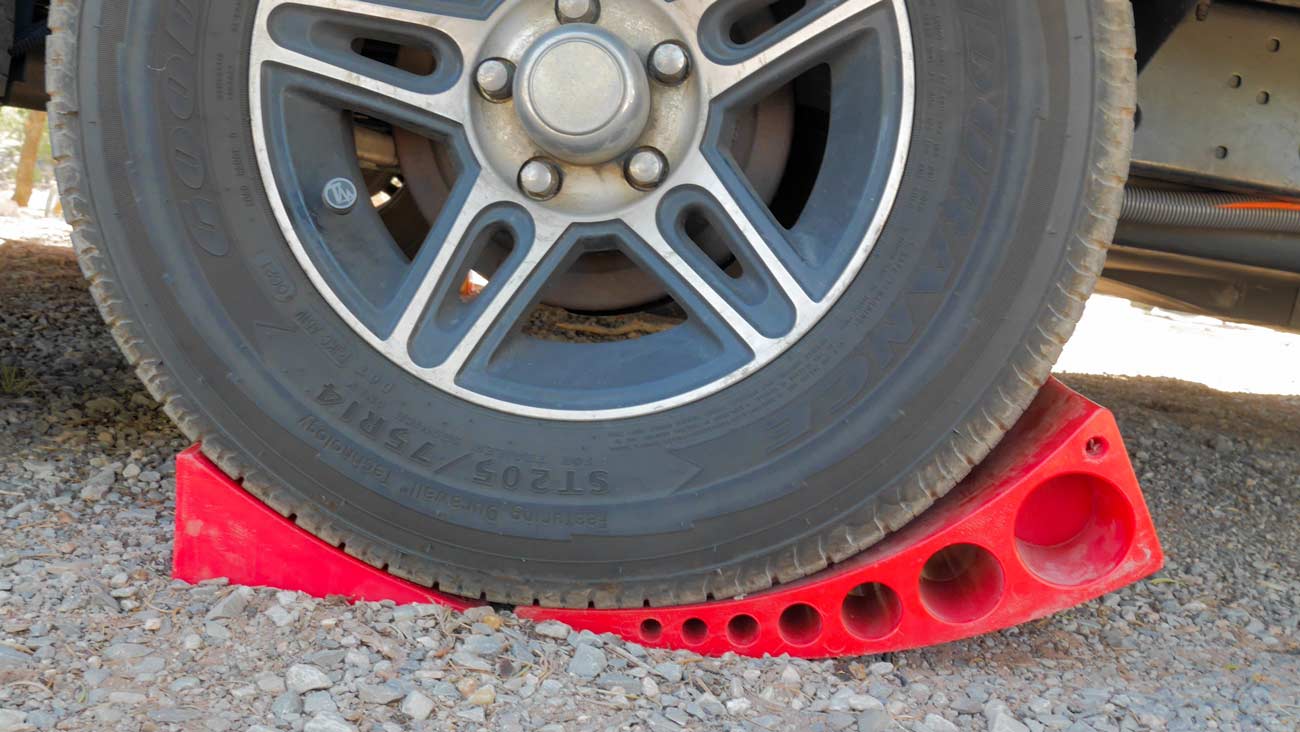
Looking at your leveling device, determine which side needs to be lifted, and place a lifting device such as Lynx Levelers or an Anderson Leveler under the downhill wheels.
Pulling the RV onto Levelers in 3 Steps
- Ensure your vehicle has its parking brake on before getting under the tires.
- Pull forward or reverse onto the leveler slowly. (This is where a spotter comes in handy to let you know when you are on the blocks.)
- Check your level and add or remove blocks until level.
Chock Wheels
Before unhitching, it is imperative to place wheel chocks under the RV wheels. The potential of an accident from a moving RV is not worth skipping this step that only takes a few seconds.
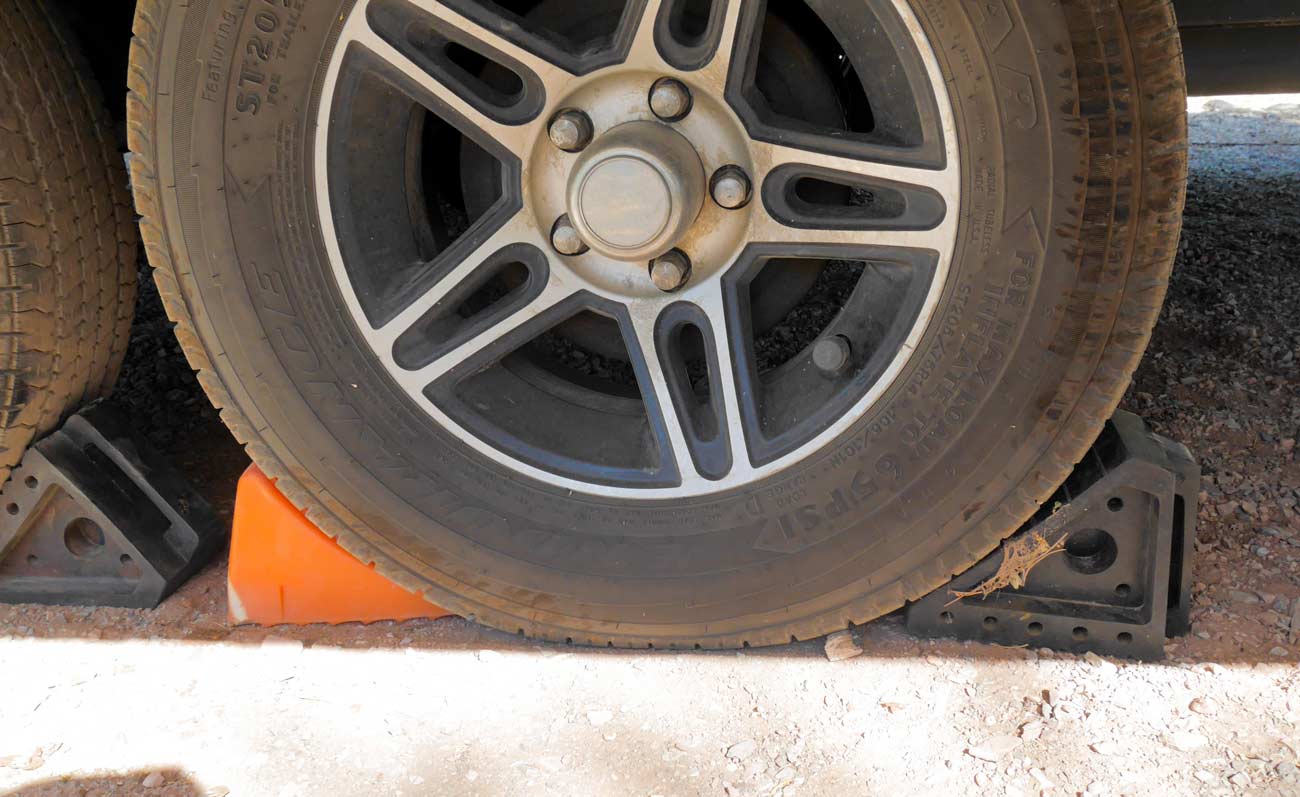
The heavy-duty rubber chocks are more sturdy and grip well. Two sets are recommended on extreme slopes or wet/soft ground conditions.
Unhitch RV and Level Front to Back
Now that your RV is level side to side, it is OK to unhitch the RV from the tow vehicle. Follow these five steps to unhitch and finish leveling your travel trailer.
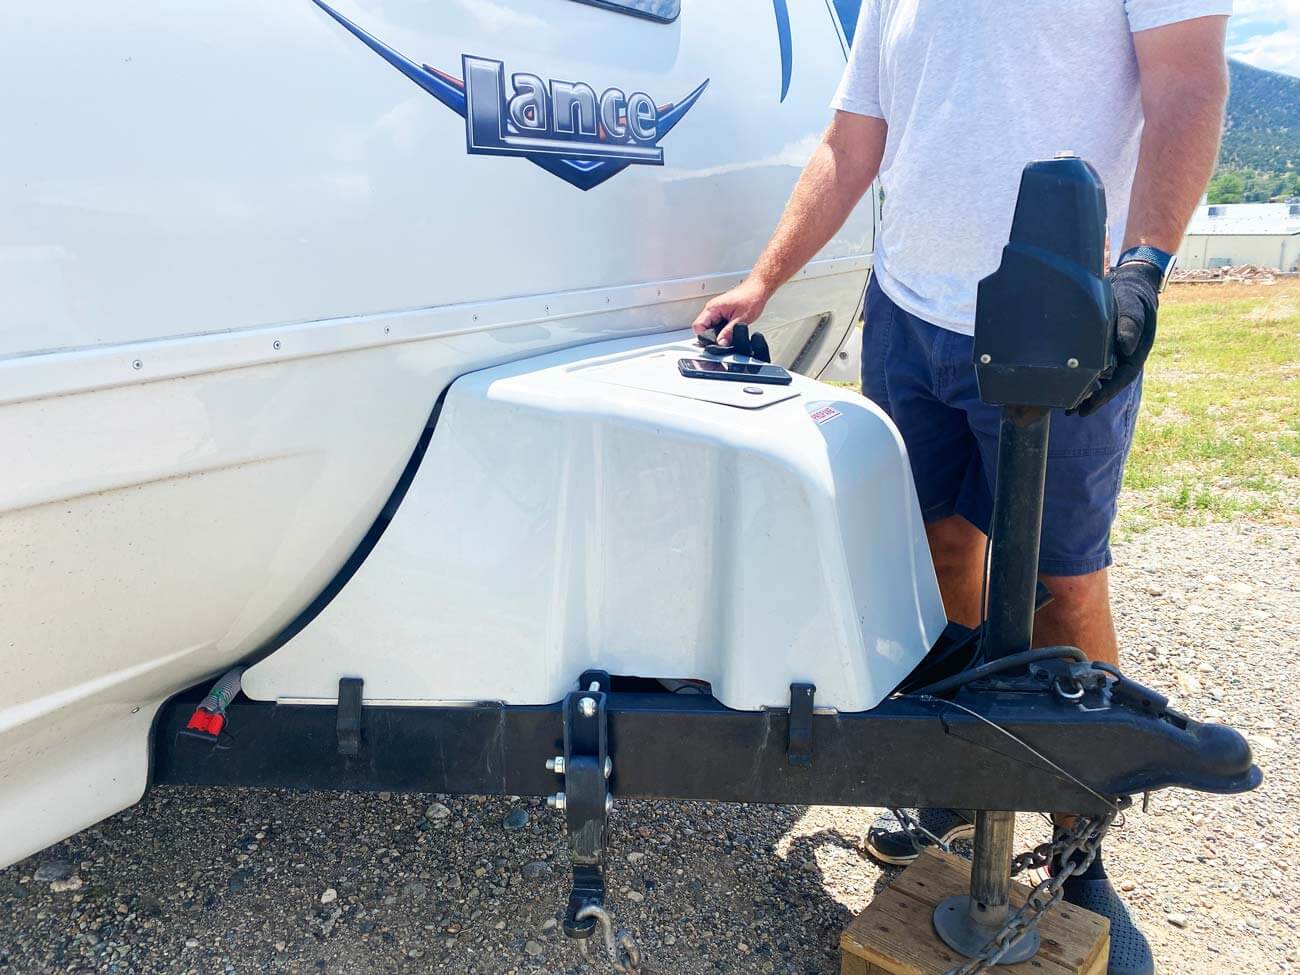
- Extend the tongue jack until pressure begins to be taken off the hitch ball. (Use a tongue jack stand or support block to protect the pad of your jack and reduce the amount of extension required.)
- Unplug the 7-pin electrical connector.
- Remove all equipped weight distribution or sway stopping devices, emergency breakaway brakes, and safety chains.
- Release the hitch ball lever and extend the tongue jack until the tow vehicle can be safely pulled forward.
- Using your leveler again, extend or retract the tongue jack until the RV is level front to back.
Put Down Stabilizers
When level, the stabilizer jacks (sometimes called scissor jacks) are extended to reduce the rocking that occurs in RVs from walking, wind, and other shaking. Stabilizers minimize strain on the frame of an RV when a slide out is moved in or out. Always put the stabilizers down before putting the slide out.
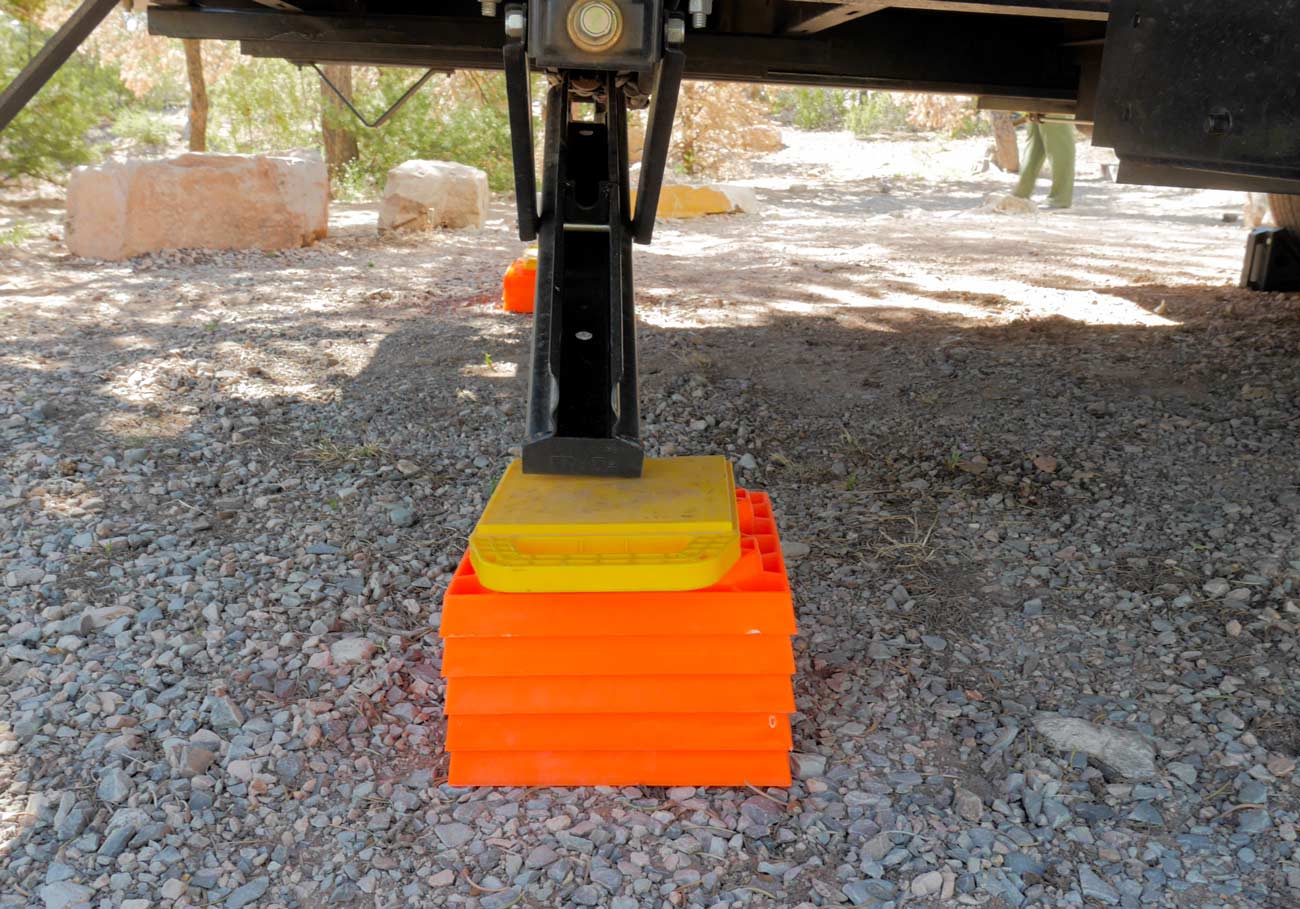
It is important to note that these are not the same as the automatic leveling systems in some motorhomes. If the stabilizer jacks are lifting the RV, you risk damaging the jacks and the RV. Stabilizing jacks support the RV by being pressed firmly to the ground, and no more.
Many RVs come with electric stabilizers that can be raised or extended with a switch. Manual jacks use a turn handle, but this drill adapter makes it less strenuous and speeds up the process. Jack pads are recommended to keep jacks from sinking and reduce exposure to dirt and moisture.
Connect Power
The electrical power cord is usually the first on the list to get attached. Often the slide needs to go out, or the air conditioning needs to come on. Plugging into electrical keeps those bigger loads from hitting the batteries.
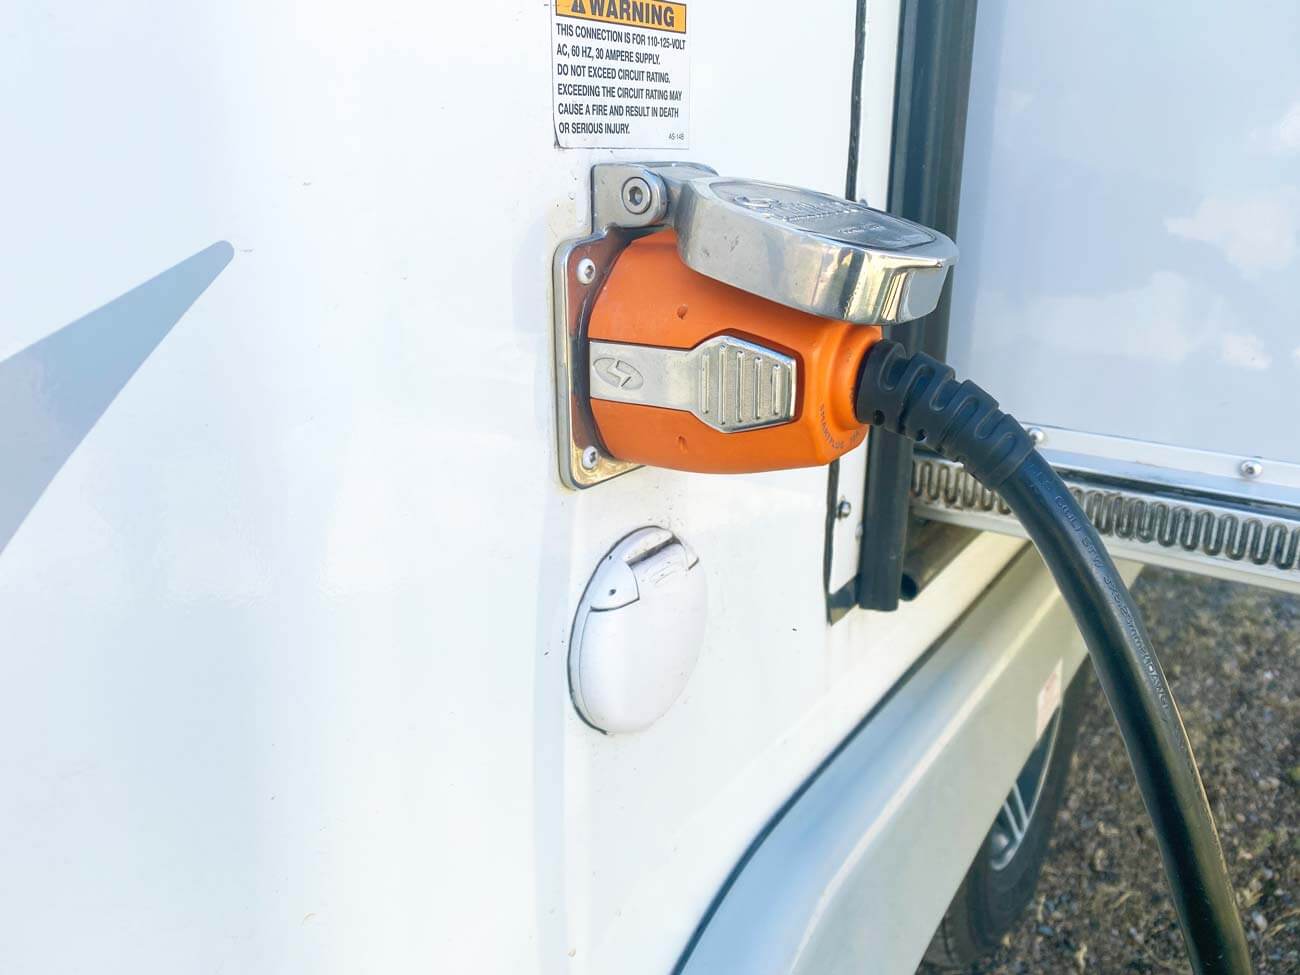
Your RV will require 30 or 50 amp service, but the campground may not have a site with your particular circuit. The good news is that an adapter easily connects a 30 amp plug to a 50 amp outlet or a 50 amp to a 30 amp, allowing you to stay in any available electrical spots.
Using a Surge Protector
You also will want to protect your RV from electrical disturbances with an RV surge protector. There are several types of surge protectors. A basic model surge protector plugs into the power pedestal and is the most affordable. Other versions of surge protectors are installed permanently in the RV, so you don’t need to set up anything at camp.
The pedestal’s breaker should be off until the RV is plugged in securely. Once the breaker is on, the surge protector will take a few seconds to examine the incoming power for problems like bad wiring before allowing electricity to flow. If there is a problem, the surge protector will display an error code and block the electricity.
Connect Water
If your site has a water spicket, a hose can plug directly into the RVs city water inlet or fill up the water tank. Use a hose rated for drinking water. Green water hoses have dangerous chemicals like lead, so skip those.
High water pressure can burst an RVs plumbing. Protect your RV with a water pressure regulator. A basic one does the job but can leave you with poor water flow. An adjustable water regulator set around 45 PSI protects most RVs and keeps the shower flowing nicely.
PRO TIP: Adding a Y-adapter at the spicket is a good tip for several reasons. One, it gives you a place to quickly wash your hands or hook up a black tank flush hose. Second, the lever is much more convenient to turn off and on when filling the water tank.
Water Filtration
Water filtration is a big topic and can be approached in many different ways. At a minimum, protect yourself with an inline one-micron water filter to reduce harmful contaminants, reduce odor and improve the taste. Add a pre-filter for two-stage filtration to reduce sediment, rust, and other particulates.
Advanced Water Filtering
It is debated if water passed through only inline filters is suitable for drinking. There are more advanced and expensive water purification systems if you plan to regularly drink from the RV water tap.
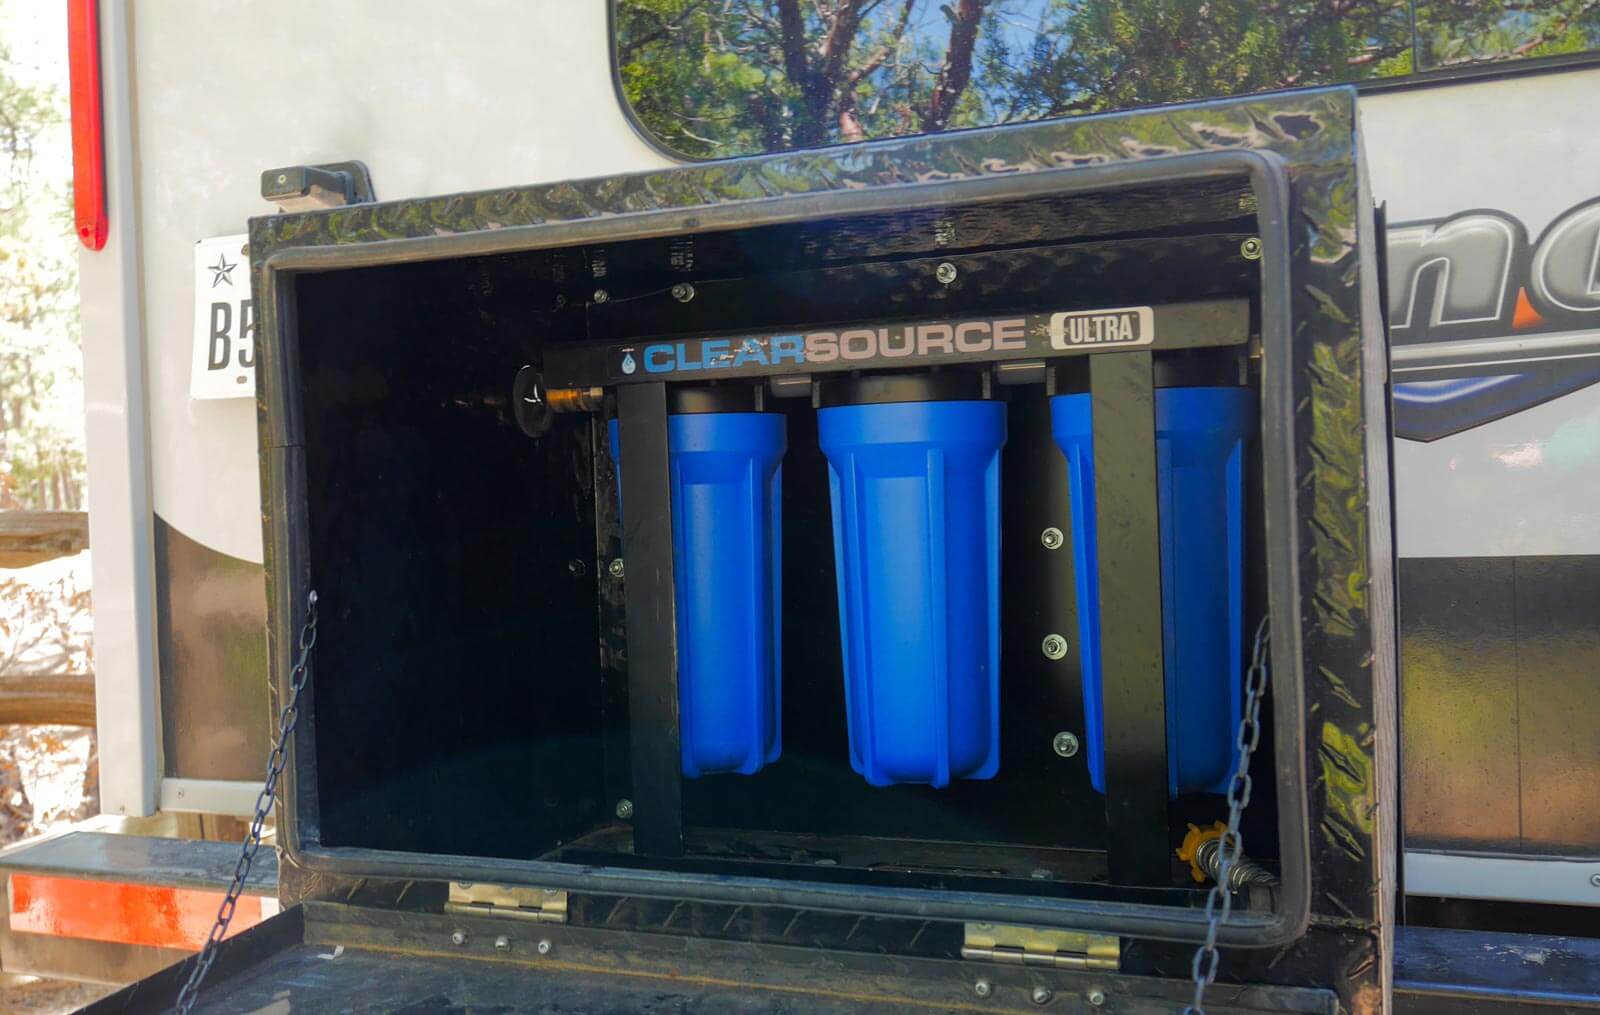
- If you have the countertop space, many people swear by the Berkey system.
- Advanced water filtration systems that can be installed in storage areas are available from companies like Clearsource.
- Acuva systems use UV light to kill bacteria and viruses and are more compact and mount under the sink.
Connect Sewer Hose
Connecting the sewer at arrival can be a convenient way to dump as needed. If your sewer connection significantly intrudes on another camping spot, try to be courteous and wait until you’re not disturbing your neighbor. A pair of waterproof gloves is recommended to use while setting up your sewer connection.
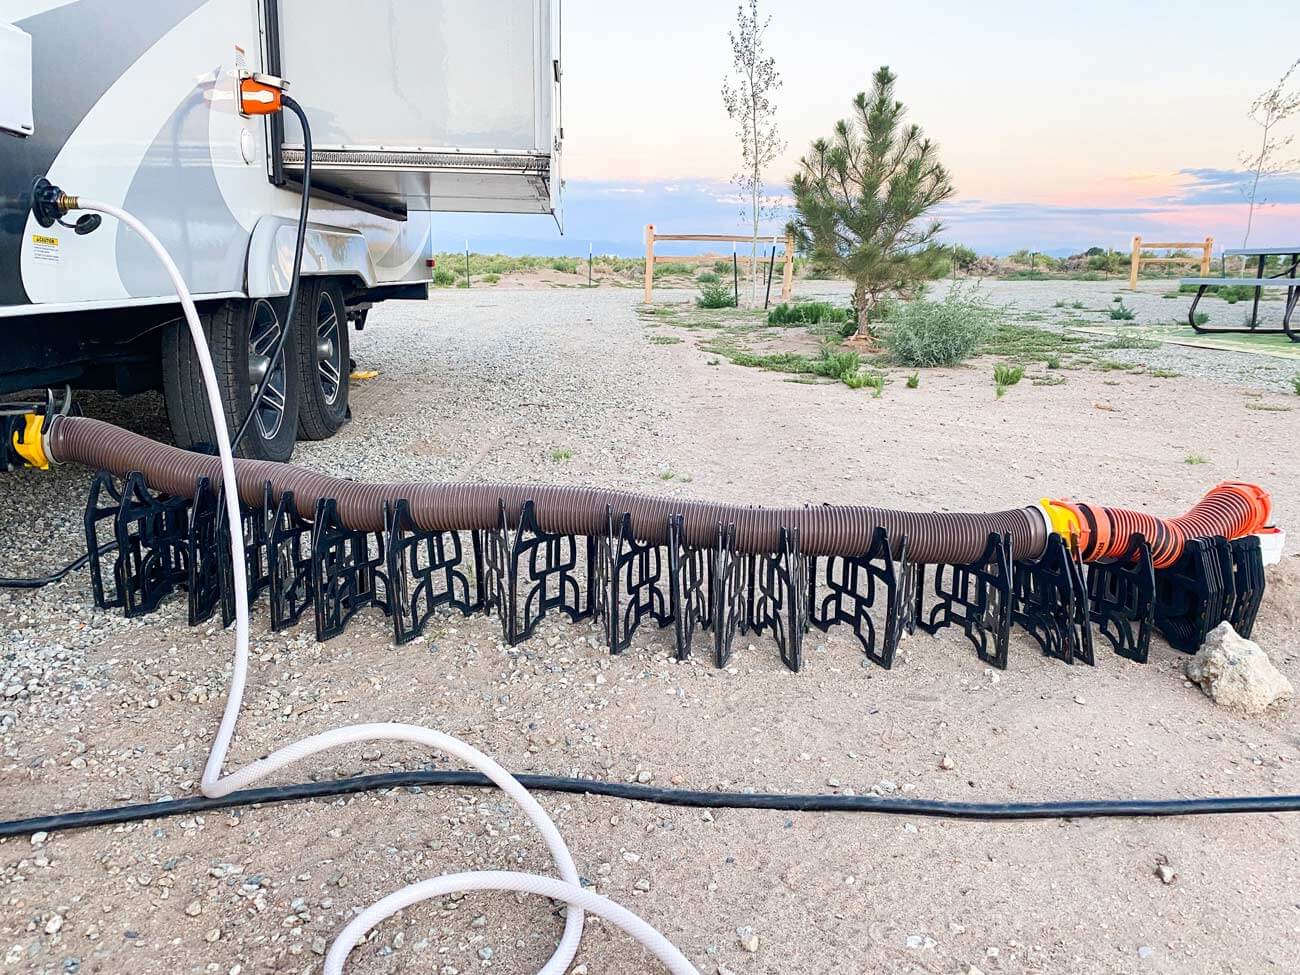
Setting Up the Sewer Hose Support
Use a sewer hose support to slope away from the RV to keep things moving and prevent build-up in the sewer hose. Lay out the support evenly, avoiding low spots and turns in the hose to make things clean when it comes time to disconnect.
Connecting the Hose
Attach the hose to the RV first, then lay the hose across the support. Remove the cap from the ground drain, quickly screw a clear elbow adapter into the threads that held the cap, and connect your hose to the adapter.
You’re ready to dump your tanks!
READ NEXT: For a complete list of travel trailer equipment to outfit your RV for travel, check out this list of travel trailer must-haves.
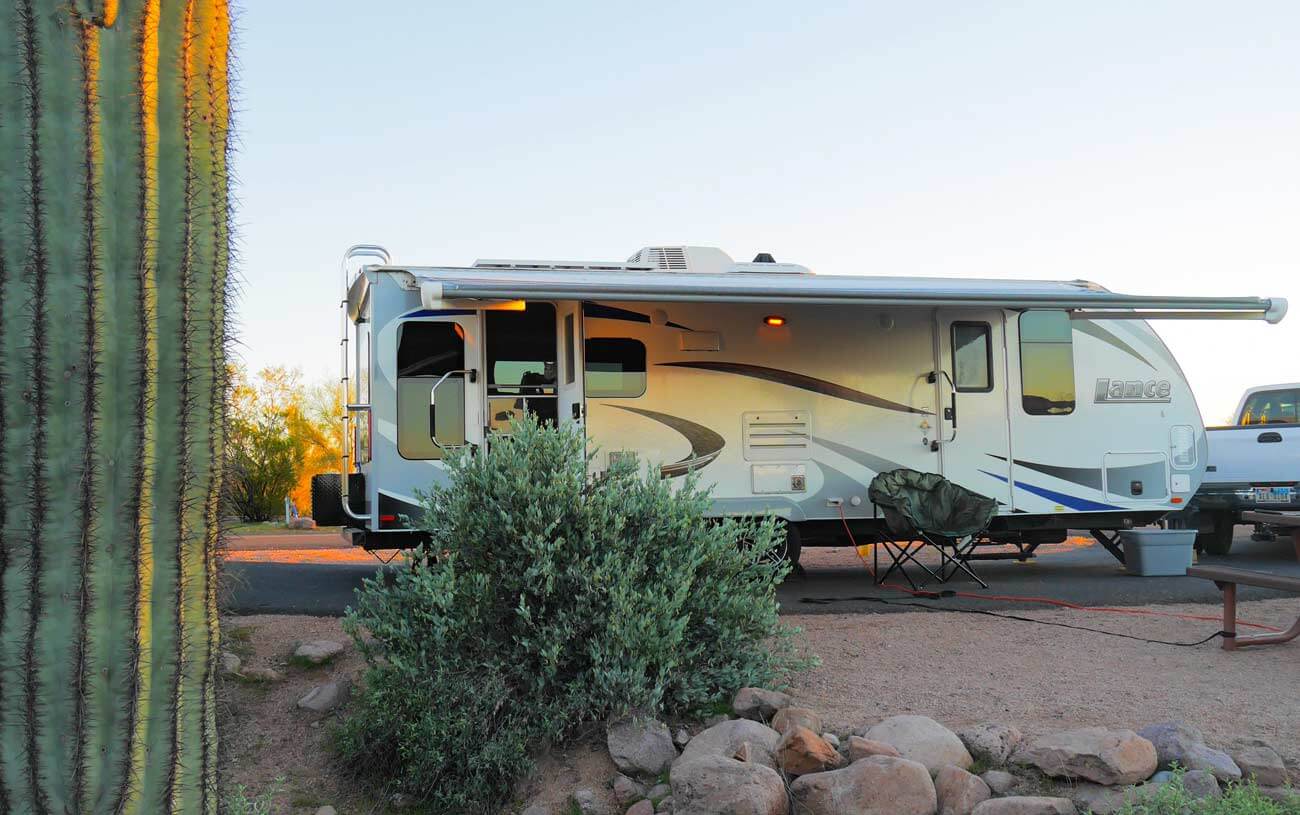
Finish Setting Up Your Camper Trailer
There may be items specific to your RV to complete your setup. You may have a slide that needs to come out, a satellite TV to set up, or an internet antenna.
Make your RV campsite setup feel like home with tables, chairs, lights, etc.
If you use your RV’s stove, you’ll also need to open the exhaust vent cover outside the RV.
We hope this guide and checklist will help you feel confident setting up your site. Now, sit back, relax, and enjoy your campsite, knowing it is ready to go!
Want more beginner tips on RVing and how to get started?
Check out our guide to preparing for full-time RV living, including info on choosing an RV, pros and cons of the lifestyle, RV gear lists, downsizing for RV life, and more.
Like this post? Save it on Pinterest for later.