How to Digitize and Declutter Paper for Good
As an Amazon Associate, we earn from qualifying purchases. We also earn from other affiliate websites. See our full disclaimer.
Are you overwhelmed by paper clutter? It’s not surprising. Paper is continuously coming into our lives. One minute there are a few bills on the coffee table, and the next, there are stacks of papers resembling the Leaning Tower of Pisa.
It’s a constant flow – from paper bills to newspapers, photos and drawings, receipts, and coupons.
Moving from our condo to a tiny moving home, we needed a reliable system for minimizing paper clutter. With little space to spare, I aimed to declutter paper and only keep what was absolutely necessary.
Here’s how we got rid of a filing cabinet of physical paper so what remained fit in a small grocery bag. And don’t worry, we’ll also share our paper decluttering tips to keep it that way!
How to Get Rid of Paper
If you are on a significant downsizing journey, you’ll find decluttering paper is a category with a swing of emotions.
There’s functional paper:
- Financial records
- Appliance or technical documentation
- Healthcare records
- House and auto documents
- Identification documents (SS card, passports, birth certificate, etc.)
Then, there’s sentimental paper:
- photos
- drawings
- old newspaper clippings
- handmade cards
Luckily, some of our paper decluttering journey is more about logistics than emotion. Finding a way to manage junk mail and other documents that are a necessity is a welcome process. It’s figuring out how to deal with sentimental paper items that can be more challenging.
Getting rid of as much paper as possible is a great way to eliminate and organize clutter. Finding a system to digitize your functional paper, backup files, and keep essential documents handy is the ultimate goal.
Sentimental Paper
You’ll digitize sentimental paper for backup, but you need to decide if you should keep the original.
Sentimental items will be the most challenging paper items to sort through. They are things like handmade cards, grandma’s recipes, and wedding invitations.
Find ways to display the memories. Or take a picture and keep that in your digital storage.
Pinterest is ideal for discovering creative and functional ways to display sentimental paper. You can take handwritten notes or recipes and make a pillow cover or a tea towel. There are many fun ideas out there to get your memories out of a box and made into something useful you can enjoy.
Photos
Luckily we are in the age of digital cameras and smartphones that are rapidly becoming equal to a professional camera.
Despite this, you probably still have some physical pictures. When we started downsizing, it was the first time I was forced to go through our pile of pictures.
I couldn’t believe how long I had held onto these photos, carting them around from one rental to the next. To my surprise, I threw out at least 40% of the pictures without scanning them. If you’re like me, you will find some photos that bring no joy and can go straight in the trash.
YOU MIGHT ALSO LIKE: How to Declutter Sentimental Items
Physical Photos You Want to Keep
If you have found photos you want to keep at the end of your scanning process, find a frame or way to display them. If you love them enough to hold onto the physical print, take the time to place them where you can enjoy them every day.
How to Get Started Digitizing Paper
Before you get started you’ll need to choose a digital application for scanning and storing your documents.
Choosing an App for Digital Storage
There are a lot of options available for cloud storage for your documents. Depending on if you already use one of the services below, it might be easier to keep everything in one place. (Since we subscribe to Office 365 it was easy to add everything in OneNote.)
Here are some good options for cloud storage and their pricing as of Feb. 2021. These apps all have the ability to scan right from your phone.
- OneNote (5GB free or 1TB with a subscription to Office 365)
- Evernote (20MB monthly upload for free or 10GB monthly upload for $7.99 per month)
- Apple Notes app (5GB for free, 50GB for $0.99 per month, 200GB for $2.99 per month)
- Google Drive (up to 15GB for free, 100GB with Google One for $2 per month)
Below is a quick video on how to use OneNote to digitize your paper. Other applications will be similar. This is a simple tutorial on our daily management of documents.
SECURITY: If you scan sensitive information to an app, you should password protect your phone for security. Another option is to password protect the app itself.
You can set Evernote to require face or thumbprint recognition when the device allows. In OneNote, you can password protect sections of a notebook for added security.
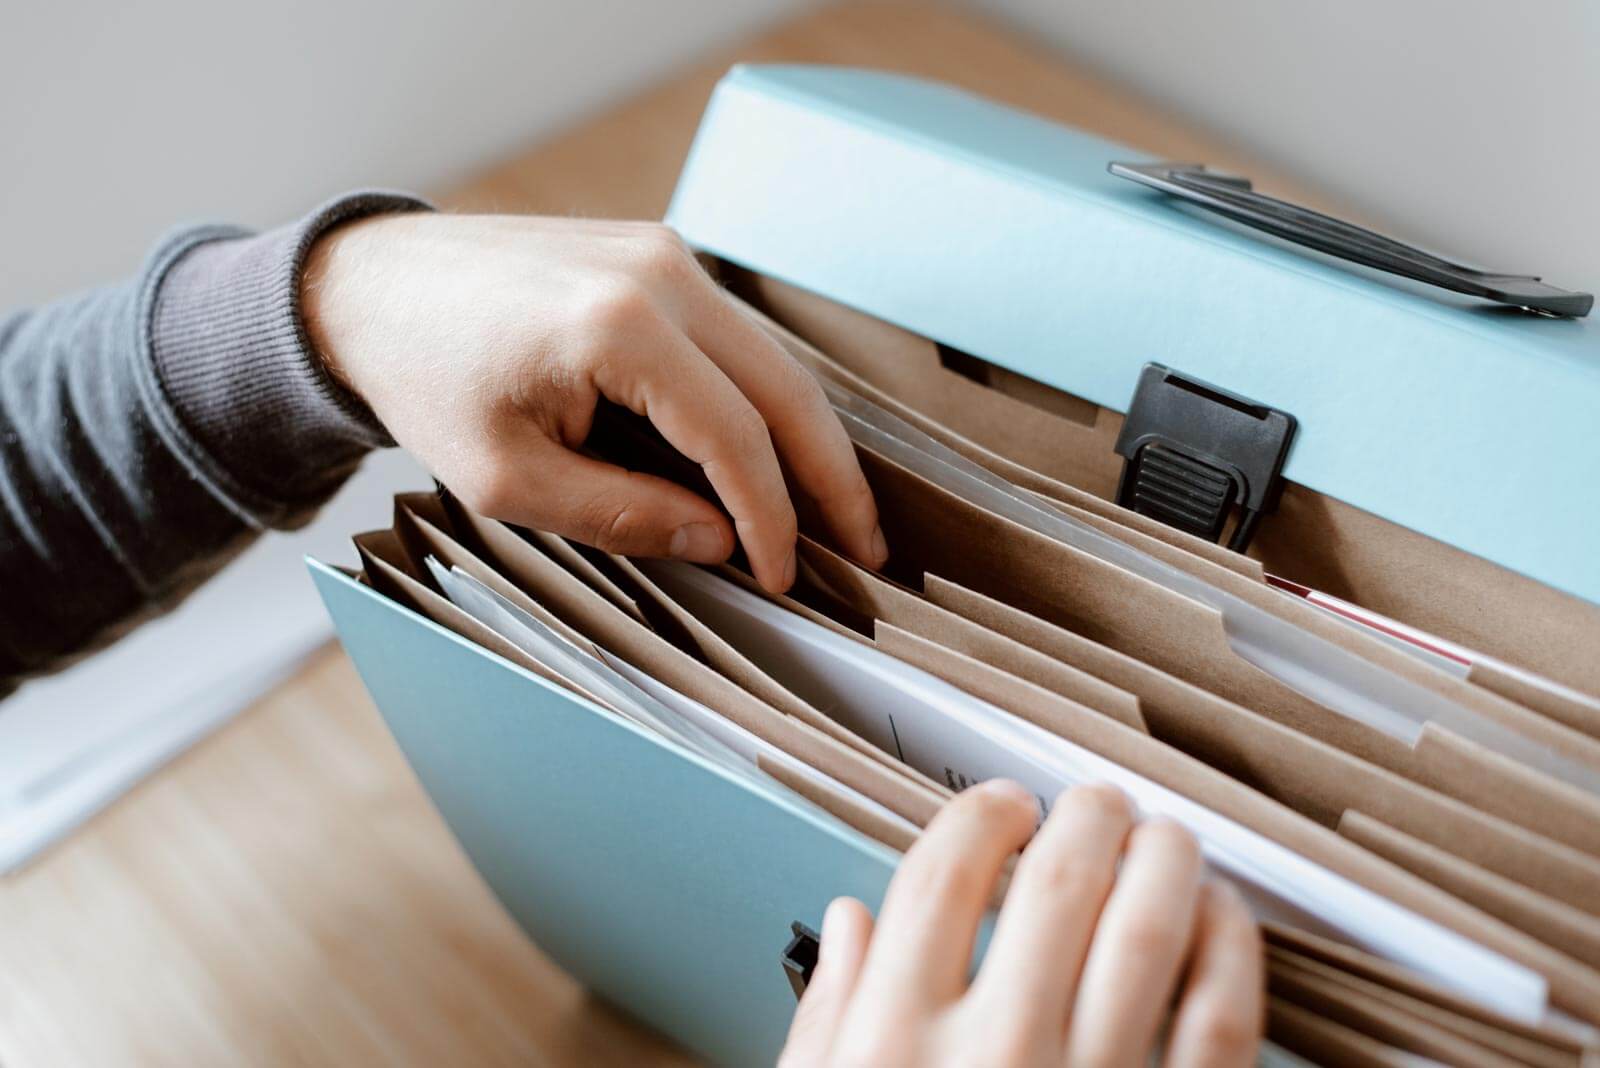
Organizing Your Paper
For your initial purge of paper, set aside an afternoon or a couple of 3-4 hour blocks. (If you have a substantial amount of paper, you might need more time.)
- Gather up all the paper piles from various ends of your home (filing cabinets, photos, and random papers scattered throughout your house)
- Pick a comfortable spot to begin decluttering
- Get your scanner or smartphone ready
- If you have a paper shredder, have it handy too
- Organize all your paper into categories (healthcare, education, tax returns, etc.)
- Create folders and subfolders in your digital application of choice to scan and store your documents
- Start scanning!
NOTE: Choose a well-lit area to scan documents using your phone. Make sure you are getting a clear photo free from shadows. For photos and other sentimental documents, I used an actual scanner to get the best clarity possible.
Decluttering Paperwork: What to Keep
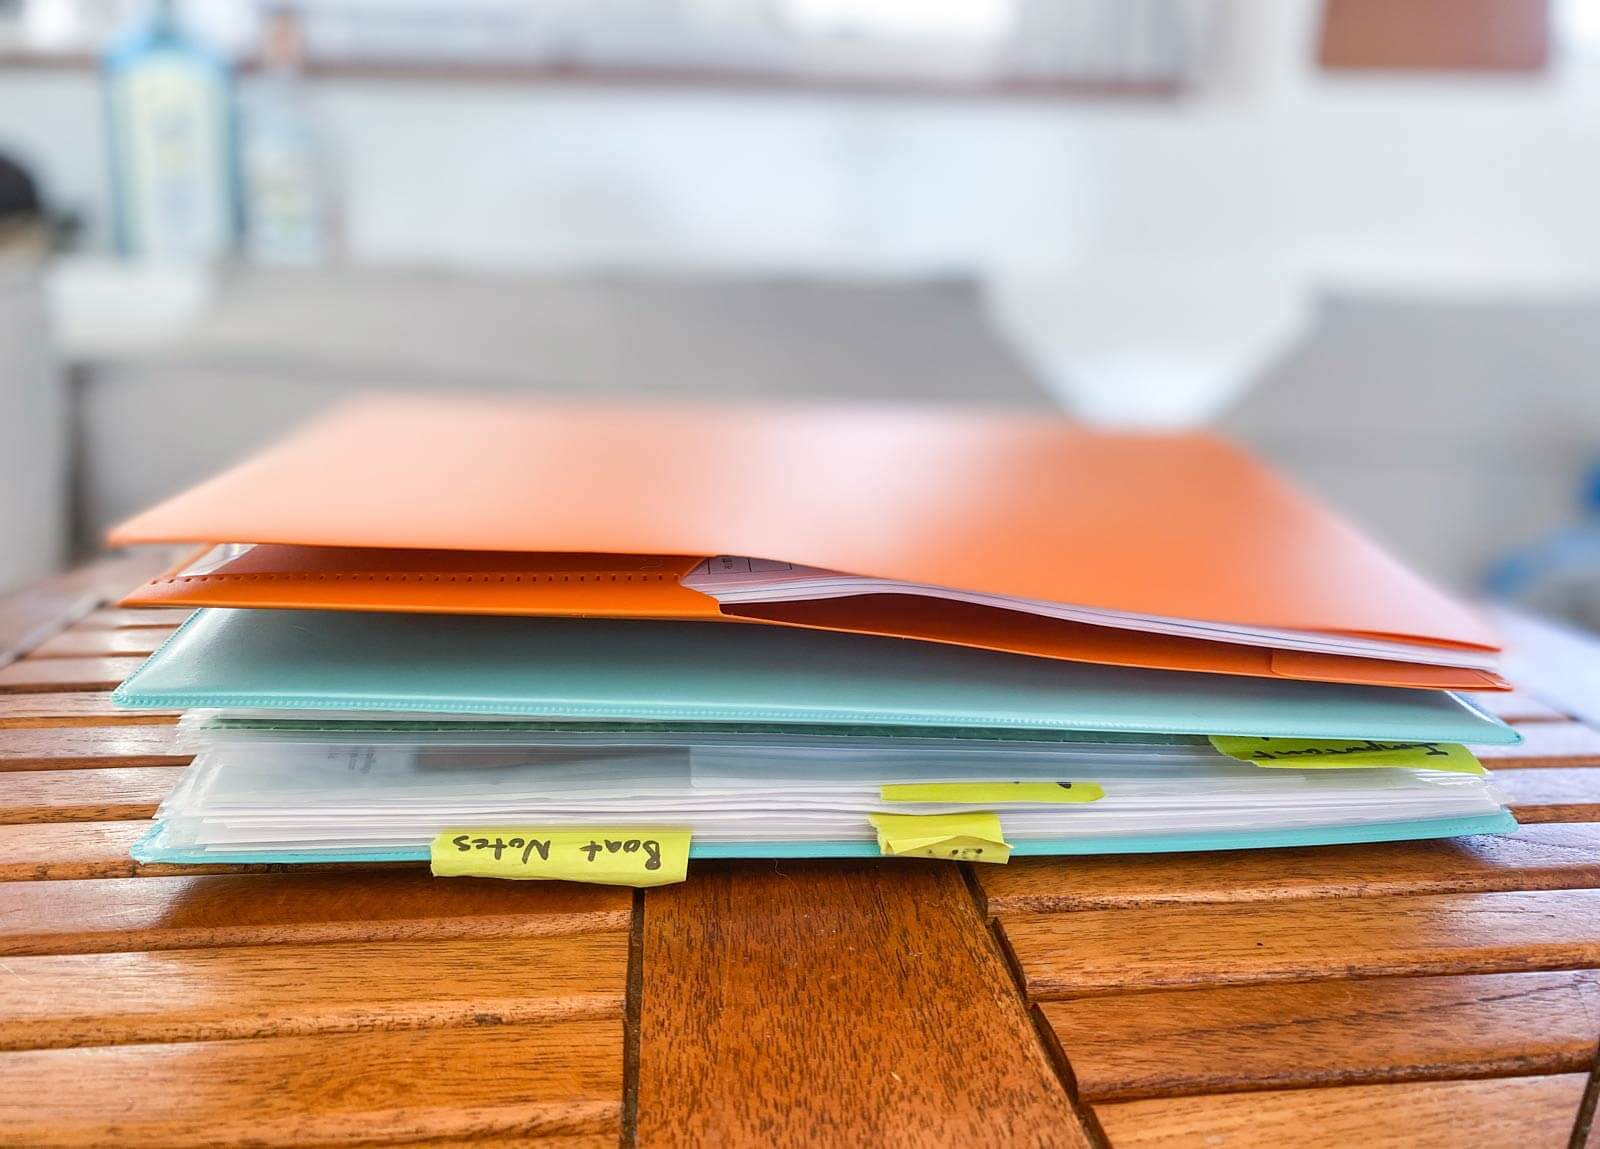
When you have completed scanning your documents what you have left should be a much smaller pile. After I completed our scanning process we had a small bag of essential documents.
- Marriage license and certified copies
- Social security cards
- Passports
- Birth certificates
- Titles to vehicles
- Important receipts (jewelry, artwork, etc.)
NOTE: Always scan the physical documents you keep so you’ll have digital copies as well.
Other Items You Might Have
- Postcards from travels
- Some printed photos for display
- Diplomas
Documents to Scan and Shred
- Family healthcare records and information
- Pet vet records and information
- Tax documents from returns three years back and older (There is some debate about the need to keep recent hard copies of your tax return. Consult your accountant before shredding hard copies of tax returns and supporting documents).
- Mortgage and homeowner information
- Auto records
- Bank statements/investment records (when needed)
- Warranty information for electronics
- Educational information (certificates, etc.)
- Employment information
You can access a lot of information online through the appropriate accounts (credit card statements, bank statements, etc.) Knowing that we might not always have convenient WiFi, I opted to scan more than less for easier access.
Managing Future Paper
Now that you’ve decluttered your paper situation, you’ll want to take a few steps to manage and minimize the paper coming into your life in the future.
Sorting Papers
First, institute a system for incoming paperwork.
If a document requires action, you don’t need the physical paper, just the information.
To proceed digitally:
If you are more comfortable with physical paper:
Going Paperless
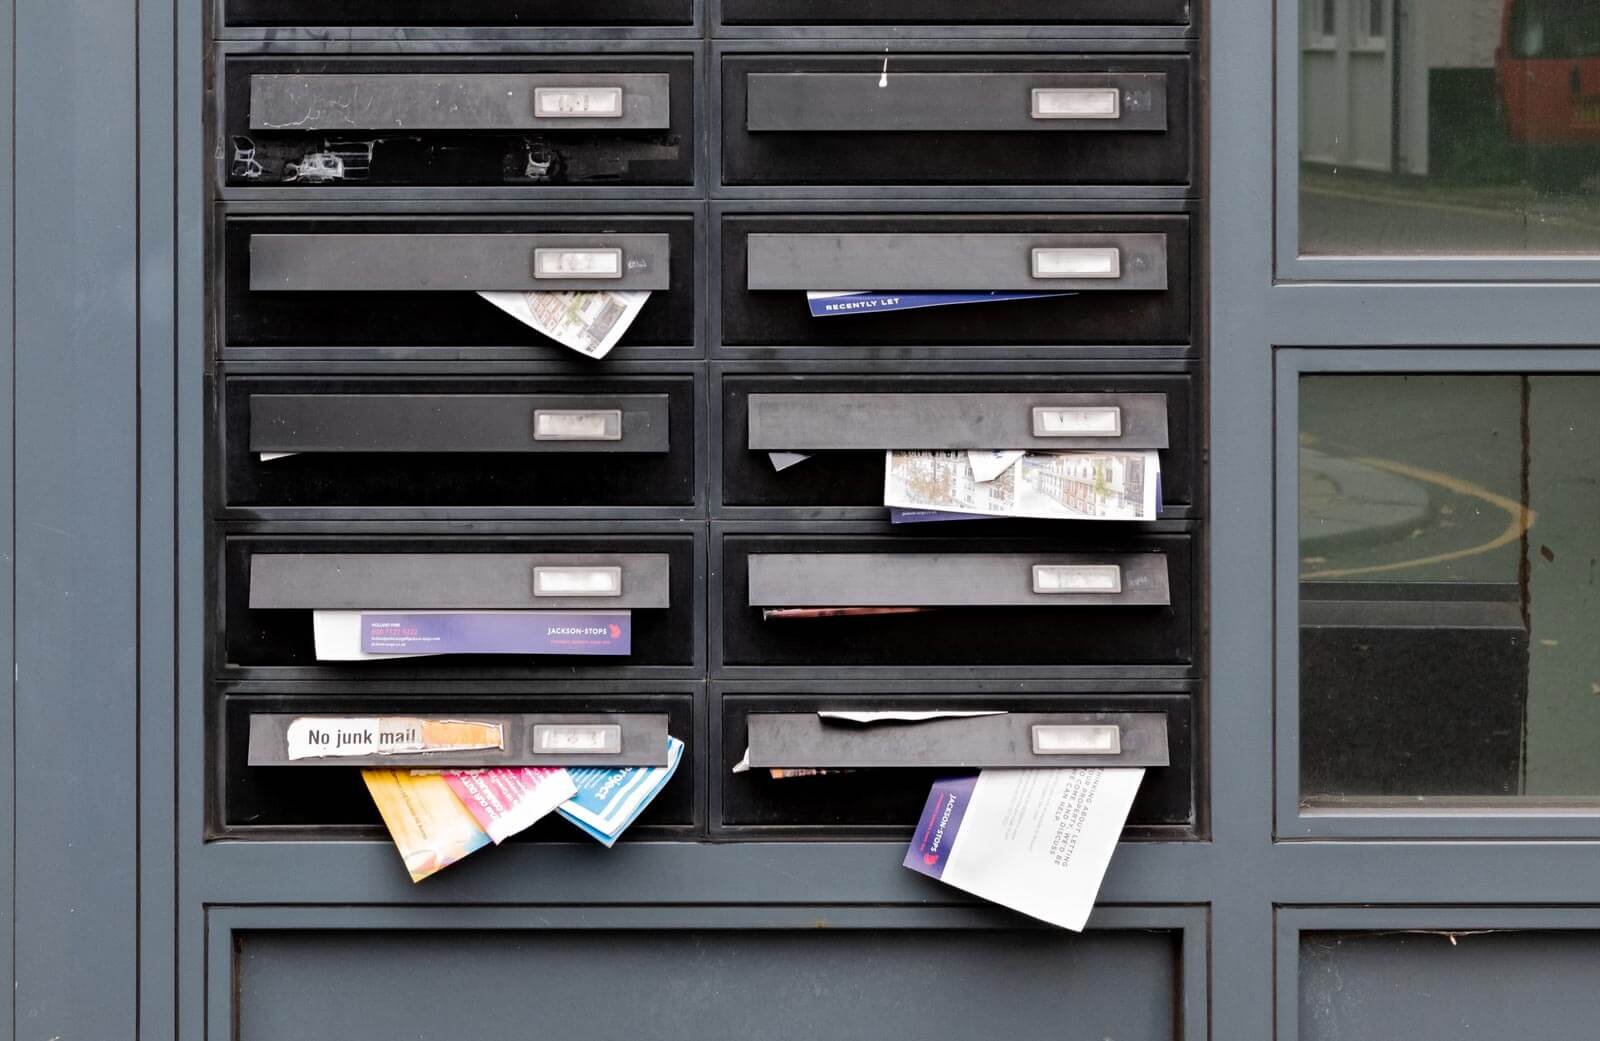
So much incoming paper is destined for the trash. Here are a few ways to eliminate unwanted paper.
- Unsubscribe from mailing lists (some companies will charge a small fee to do this for you)
- Switch invoices to electronic billing
- Opt-out of receipts at grocery stores you frequent in exchange for an emailed receipt
- Use apps like Ibotta for couponing to avoid paper coupons
- Use an electronic magazine subscription
Final Thoughts on How to Declutter Paper
Finding a process to declutter and manage paper is a big area to tackle when downsizing.
Some parts of decluttering paper can be a challenge. However, for the most part, this is a category where you can take a bit of an emotional break.
Set up a digital system that works for you and your family, and you’ll have no problem moving to the new method. With sentimental paper, find a way to display the things you love and maybe let go of things not worth the trouble.
Once you’ve made an effort to declutter and digitize the paper in your space, it will be much easier to keep it out for good.
Want more tips on decluttering?
Check out our guide with ten specific steps to get you started decluttering to downsize.
Like this post? Save it on Pinterest for later.
I had about 10 big Rubbermaid bins full of magazine clippings of recipes, exercise & healthyifestye issues for weight loss, fashion, travel etc etc etc. We’re talking hundreds of pounds of paper, and I wanted to keep all of it. I moved it from S. Florida, to Central Florida and then across the country to Oregon, crazy!! (My house is otherwise very tidy & organized BTW! lol and all was stored in a corner of my garage! Paper clutter wasmy lifelong nemesis, WAS, but no longer…keep reading. ) So, it took months and months to sort through it. I did my first sort of ALL of this paper and threw out about half and then sorted what info I wanted to keep but the problems were A. It was still a LOT of paper clutter even neatly stored in bins and B. I couldn’t reference or put to use/find ANY of this information as it was so disorganized. My 2nd step was to sort all of it again by subject/category and I probably threw out 1/3 more as I found duplicates or essentially the same information from different sources. But again, it was still way too much paper to keep without feeling burdened by it and also feeling like a hoarder. So, I went online and Googled everything I could and many times could find the same exact article(s) that I was then able to save digitally to my Pinterest in the correct/designated category, and could then throw out all those ripped magazine pages, and then another big portion of the original amount of paper was gone! Now here’s the REAL MAGIC…anything else I took pictures of with my cell phone and also saved to my Pinterest account by category. I ended up with some clip art for my vision boards, collage making, creative writing ideas, etc which are organized in files and all the rest of the paper I have fits in a plastic 2 pocket school folder!!! It was a GRUELING PROCESS, it seemed like I would never accomplish this task when I started, but I kept with it taking days off when I needed to, when I was overwhelmed and can finally say I slayed my Paper Monster, once and for all. 😁
Thanks so much for sharing this story, Tricia! I had not thought of Pinterest as a way to save and organize images of ideas like this. Really great idea. So glad you were able to stick with it and sort through all that paper!